
Removing old silicone: why “looks clean” is not enough
New silicone will not bond to an invisible oil film. Cut the mass, break the residue, then degrease — without scratching acrylic.
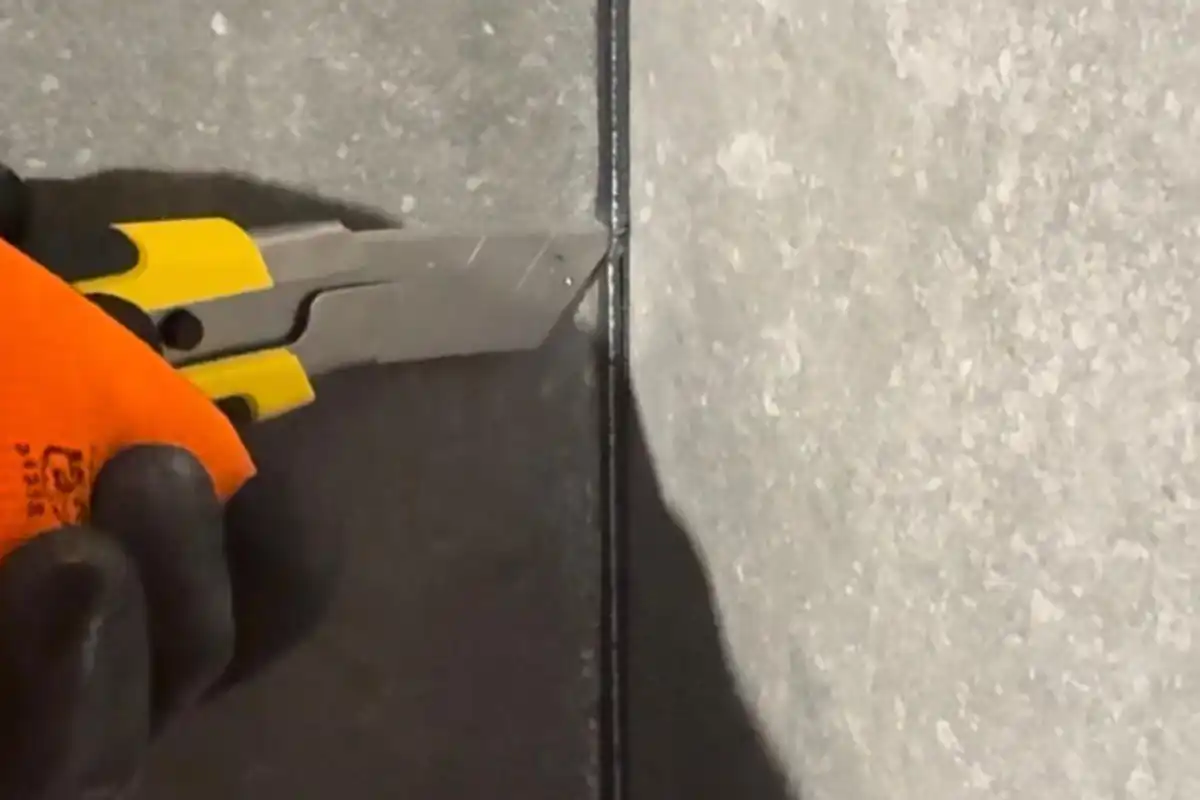
Cutting the bead does not remove the film. New silicone needs a clean flank. Finish with a technical cleaner until the cloth drags, and keep steel off acrylic trays.
Clean to the eye is not clean for adhesion
“I’ll scrape it on Saturday.” A cutter, an hour, done. Then the new bead lets go in a few months and you swear you had taken “everything” off.
Silicone leaves oils in pores and a film on smooth bath rims. You cannot see that film. For the new bead it behaves like a release layer. Adhesion is the bond to the tile or tray. Old residue kills that bond. Water then creeps by capillary action behind the pretty new line. Mould and leaks behind the bath start there, not from “bad luck”.
Household spray often lifts soap scum and leaves the silicone oil. That is why “I cleaned it” is not the same as a technical degrease.
Where DIY wrecks the bathroom
Modern trays and baths in acrylic or similar composites are soft. A steel blade or a screwdriver hunting the last smear will score them. Those scratches hold dirt and soap. Mould loves the groove. On ceramic you still chip glaze if you lever like a vandal.
Sealant removers that actually attack silicone are not washing-up liquid. They need ventilation and the instructions on that pack. A tiny bathroom with the window shut is a bad place to improvise chemistry. I am not writing a recipe for solvents here: use a product meant for silicone residue, keep air moving, and keep it off skin and stone that cannot take it.
How I strip a joint
- Mechanical: cut the bulk out with a blade that will not skate across acrylic. Get most of the mass off without gouging the substrate.
- Residue: where a film remains, a professional sealant remover paste can soften what the knife cannot lift. Dwell time matters; rushing smears oil around.
- Technical clean: wipe the flanks with a cleaner such as OTTO Cleaner T until a cloth drags on the tile, not slides. Let it flash off. If the cloth still looks oily, you are not finished.
- Only then primer (if that substrate needs it) and new sanitary silicone.
Do not lay a new bead on a yellow or mouldy remnant “to save time”. Cold joints fail.
After the strip
The joint is a chemistry job now, not a scraping job. Degreased, dry flanks. Deep gap: backer rod. Two faces, not three. Tool so water runs off. Wait for a through-cure before a proper shower.
Exceptions
If water is already in the wall, stripping and resealing the visible line will not dry the cavity. Find the leak path.
Natural stone: the remover and the cleaner must be safe for that stone, or you swap an old bead for a stain. Glass and glaze are more forgiving than acrylic; the film still has to go.
What I use on this joint
-
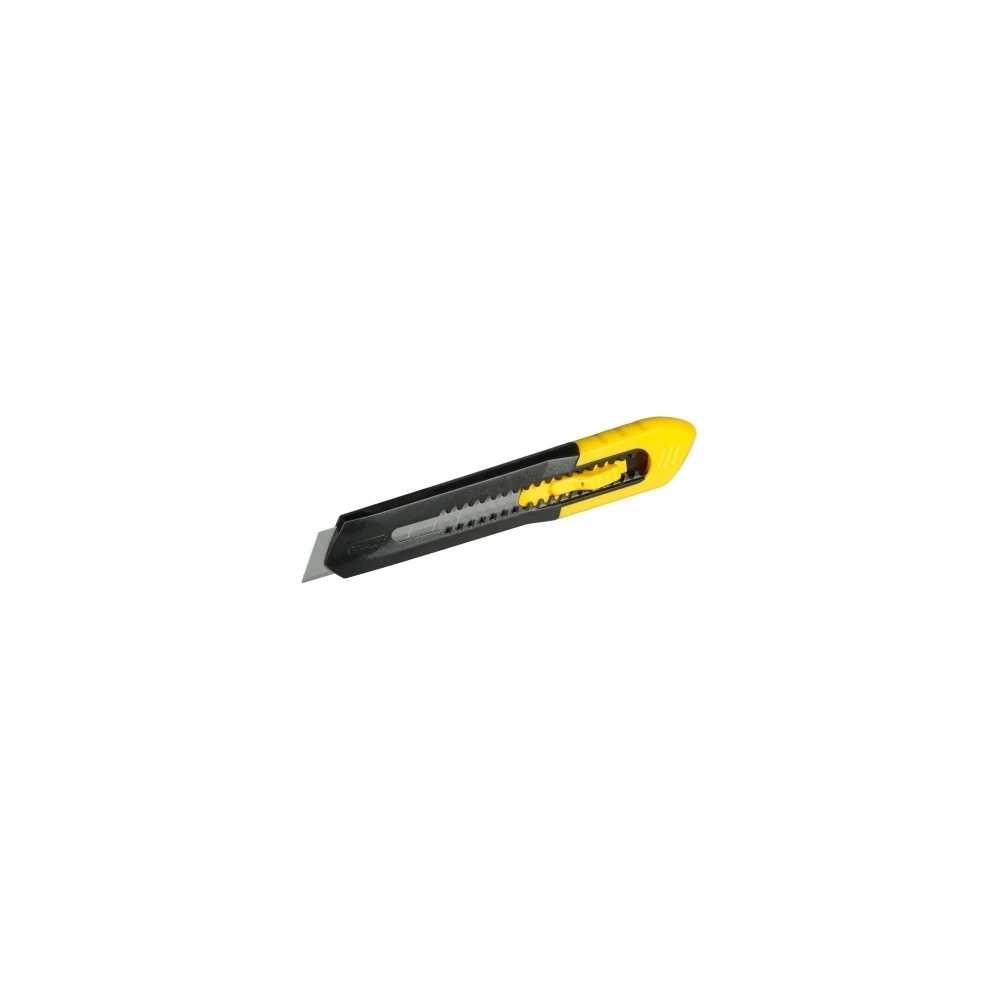
Stanley cutter
Cutter for cutting and lifting old silicone with control.
-
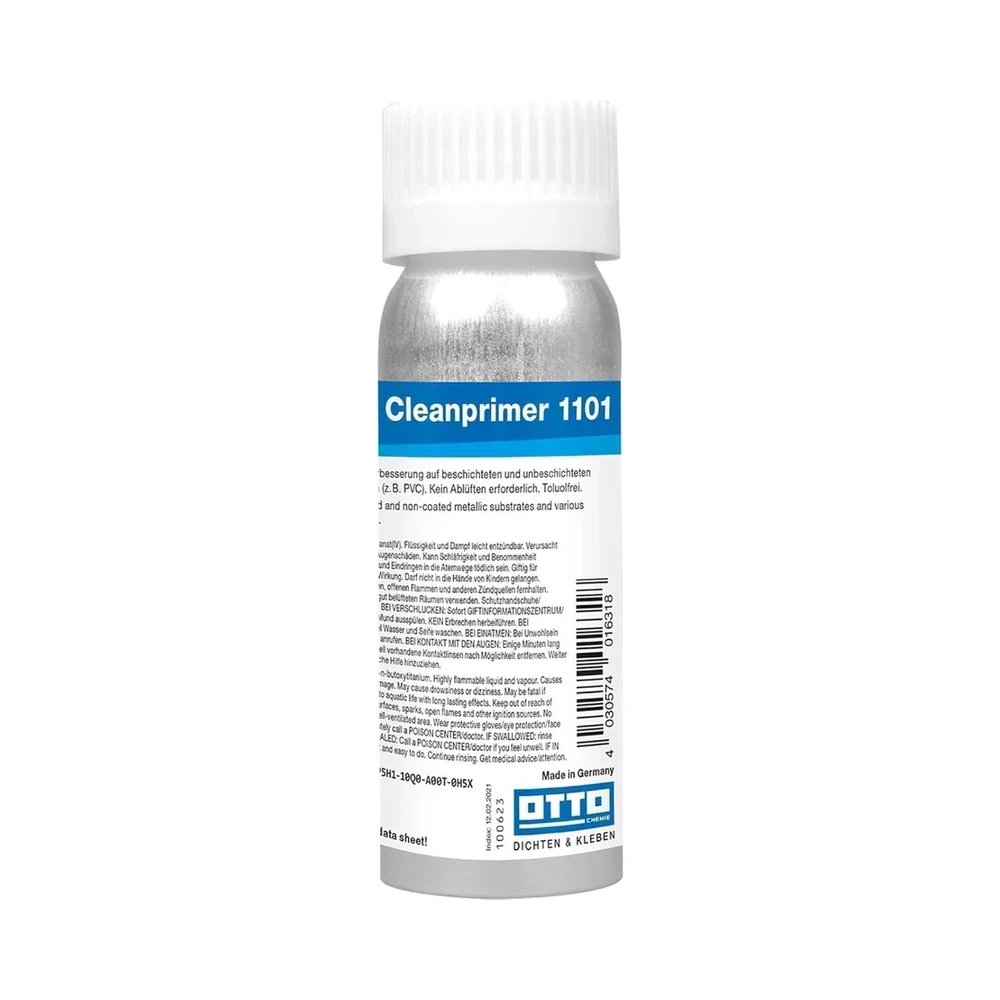
OTTO Cleaner / Cleanprimer
The technical cleaner I use to prep the substrate before sealing.
OTTO Cleaner / Cleanprimer Purchase link not available
-

Why silicone peels: adhesion, primers and a clean substrate
If the bead peels leaving the tile clean, it never bonded. Greasy household cleaners, damp faces and skipped primer are the usual reasons.
-
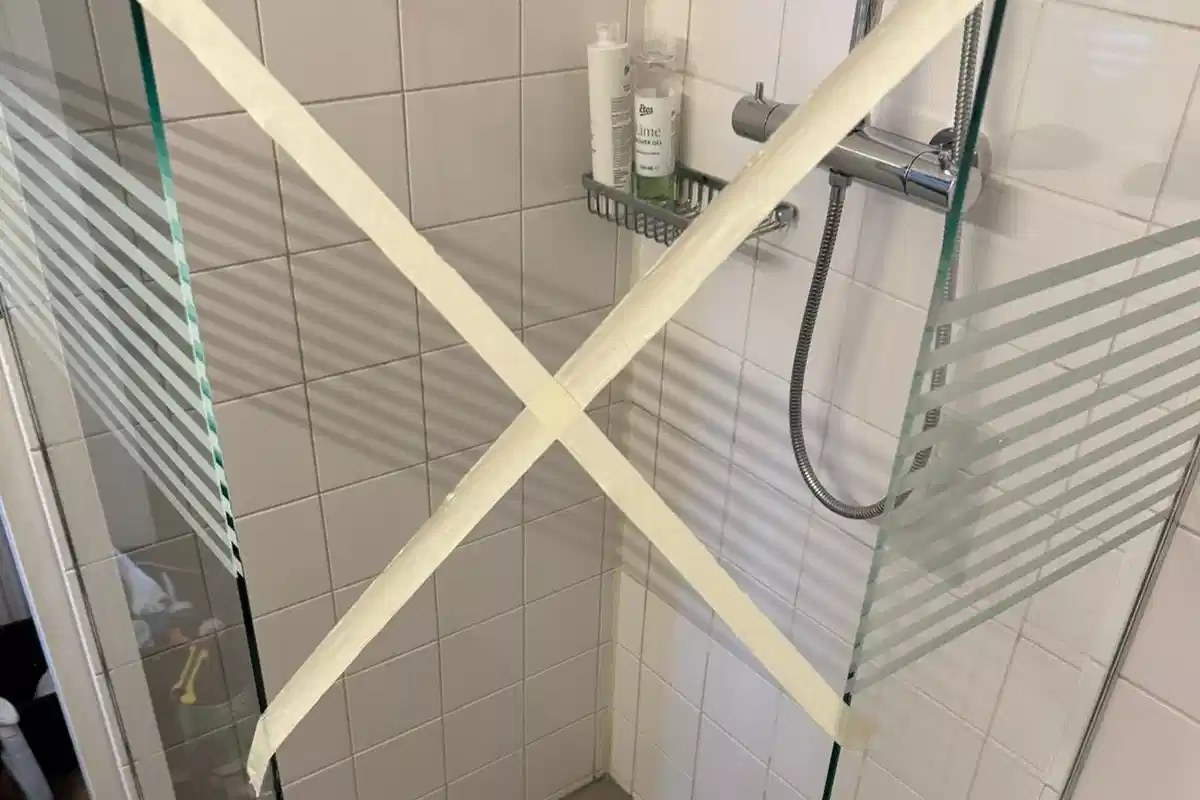
When can I shower after applying silicone?
Skin-dry is not a full cure. Wait until the joint has cured through, not just until it feels dry to the touch.
-
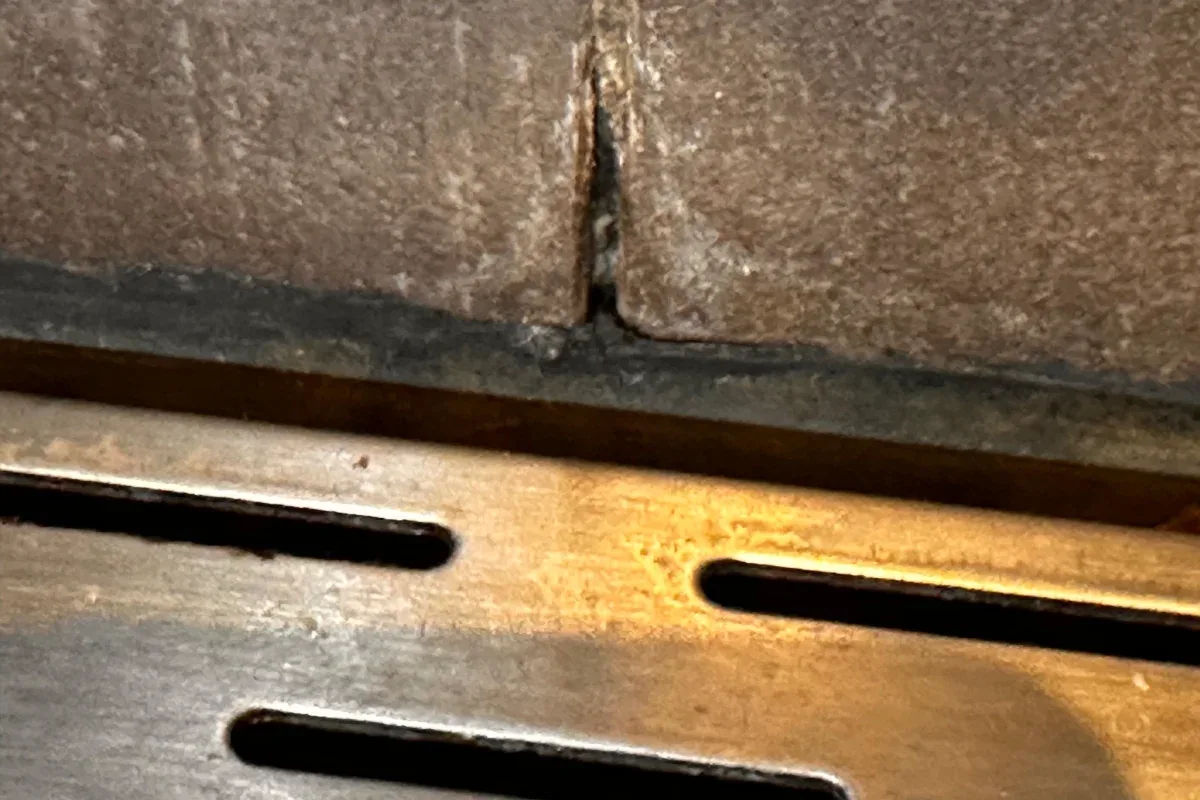
A hollow or ragged joint: the finger and the washing-up liquid
A fingertip leaves a gutter where water sits. Washing-up liquid attacks the still-wet flank and a thin smear frays.