
Sealing marble or natural stone: stop the greasy halo
Ordinary sanitary silicone can feed oil into porous stone. Neutral cure is not the same as a natural-stone grade.
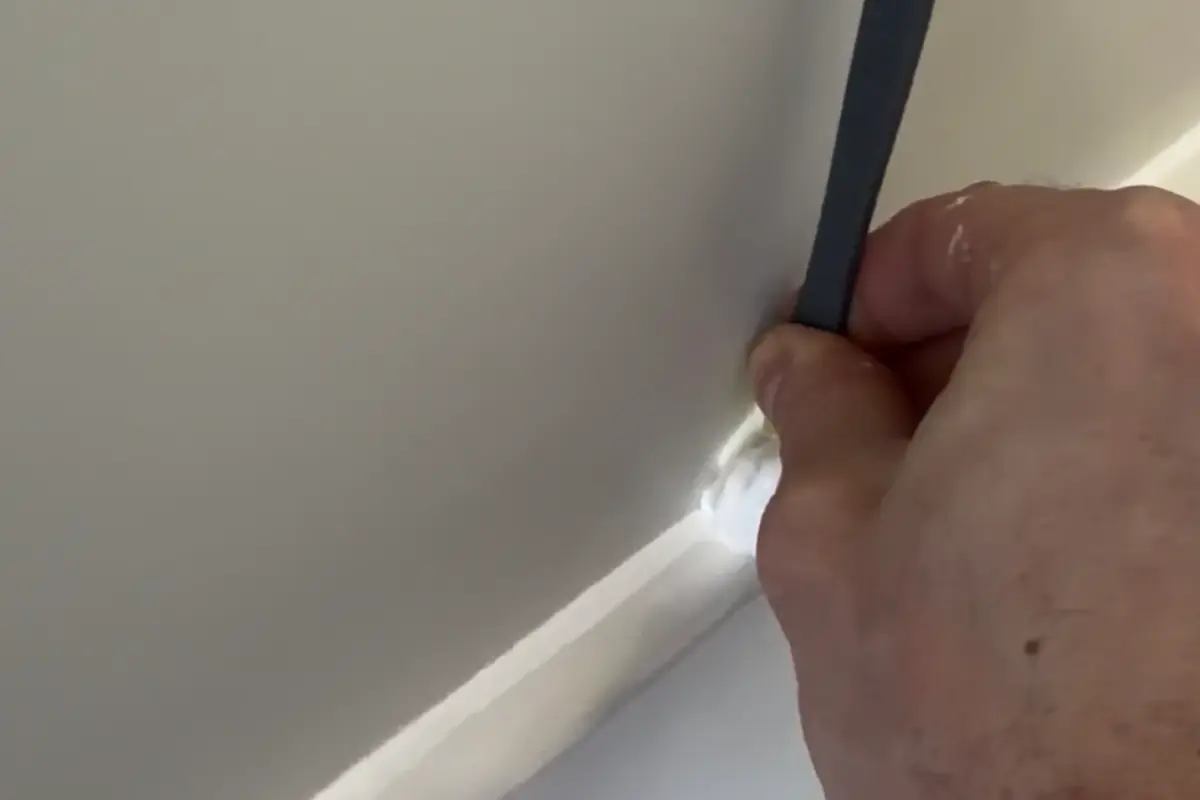
Use a silicone formulated for natural stone so the edge does not take a greasy halo. DIY “neutral” or “acetic-free” does not prove that. Acetoxy cure can also etch marble.
The stain that will not wipe off
Marble, Belgian bluestone, granite: the room looks finished. Three weeks later a dark, greasy haze sits along every bead. You scrub. It grows. The oil is inside the stone, not sitting on the face.
Natural stone is porous. Capillaries drink. Many standard sanitary silicones — including some “neutral” DIY tubes — carry plasticising oils that keep the mass supple. Those oils can migrate. The stone soaks them up. The halo appears late, which is why people think they “did everything right” on the day.
Once it is in the pores, household cleaners do not fetch it back. Absorbing poultices exist; success on silicone oil is poor in the trade. Replacing the perimeter tiles is the brutal option. Living with the mark is the other. Prevention is the only job I like here.
Neutral is not natural-stone
“Acid-free” on the cartridge means the cure is not acetic. It will not etch calcite the way a vinegar-smelling acetoxy silicone can dull marble. It says nothing about plasticiser migration. You still need a product labelled for natural stone (I use OTTOSEAL S70 on stone in wet rooms): chemistry meant not to leave that oily edge, usually a neutral cure so you are not etching the face as well.
Acetoxy sanitary silicone on marble or limestone is a second, faster disaster: the acid attacks the surface, leaving dull, rough patches. Smell of vinegar on a stone job is a stop sign.
How I seal stone
- Confirm it is stone, not a lookalike ceramic. If you are unsure, treat it as stone.
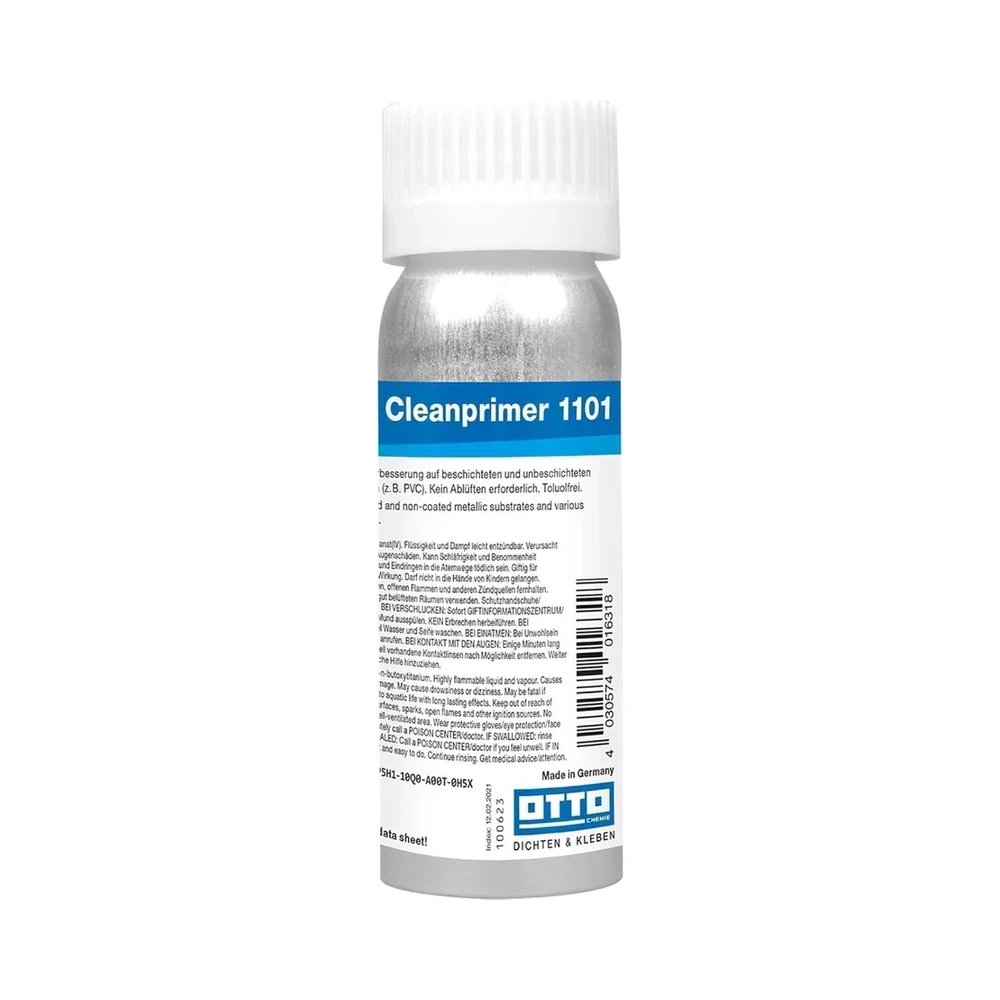
- Cut any old bead fully. Clean with a technical cleaner that will not itself stain; let the flanks dry.
- Primer only if that stone needs it — and only a stone-safe primer. The wrong primer stains like the wrong silicone.
- Deep joint: closed-cell PE backer rod, two-sided adhesion, same as any wet-room joint.
- Apply the stone silicone, tool it, leave it alone. Do not “touch up” with a leftover sanitary white from the shower.
Colour still matters: match grout or a quiet tone in the stone, from a fan in the room light. The range for stone is not only grey and clear any more.
Exceptions
Dense, factory-sealed stone can still surprise you at a cut edge, which is often more open than the honed face. A ceramic tile printed to look like marble is not stone chemistry — but the trim and a real stone threshold in the same room still are.
If water is already behind the tiling, a perfect stone joint will not dry that cavity. Understand the leak path before you close the line.
What I use on this joint
-
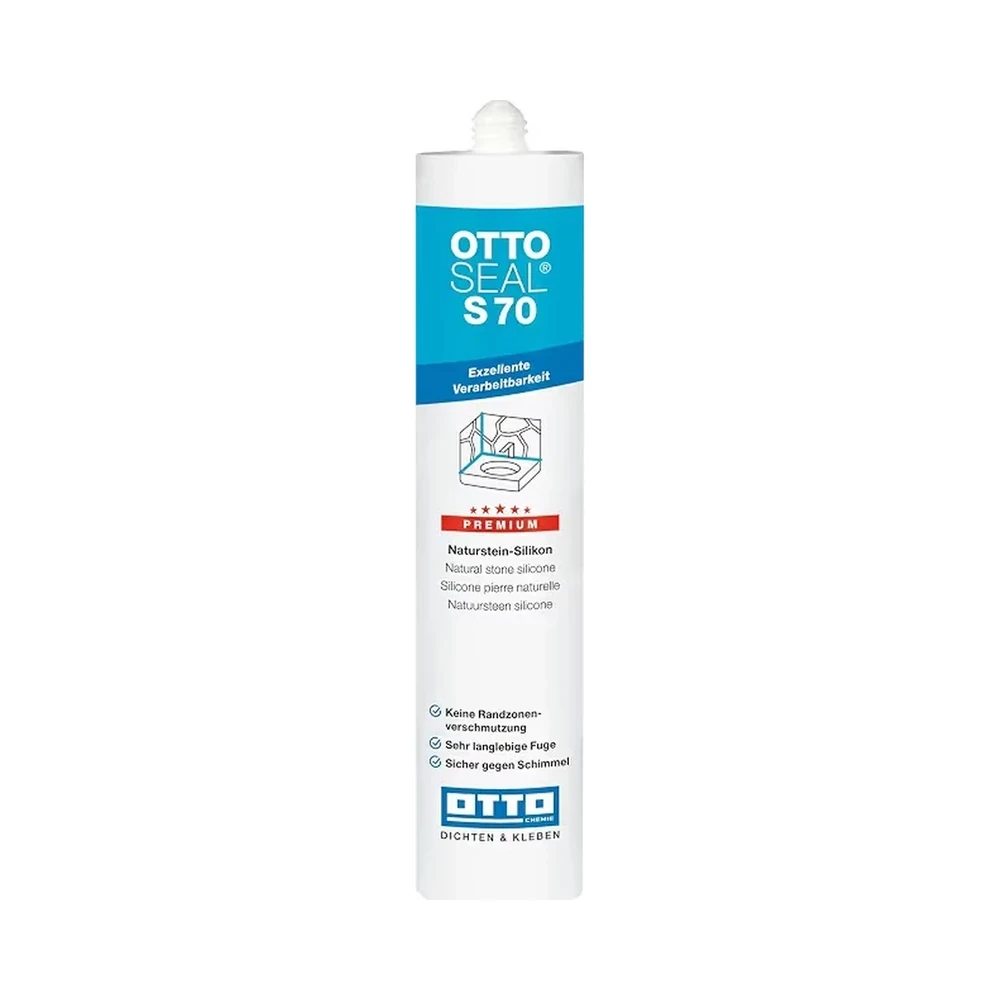
OTTOSEAL S70
For marble and natural stone — so the edge stays clean.
OTTOSEAL S70 Purchase link not available -
OTTO Cleaner / Cleanprimer
The technical cleaner I use to prep the substrate before sealing.
OTTO Cleaner / Cleanprimer Purchase link not available
-

Why silicone peels: adhesion, primers and a clean substrate
If the bead peels leaving the tile clean, it never bonded. Greasy household cleaners, damp faces and skipped primer are the usual reasons.
-
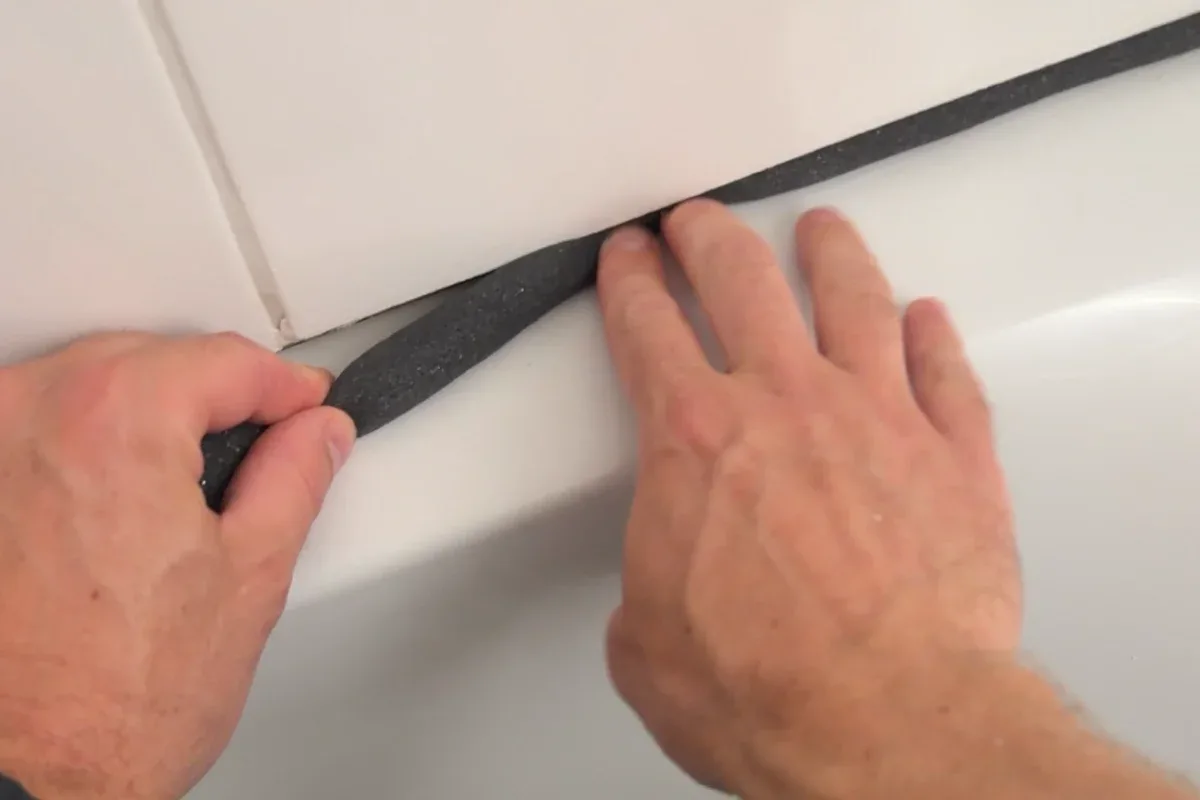
Why there is backer rod behind a sealant joint
Closed-cell PE rod sets depth and stops the bead bonding to the back, so the joint can stretch on two faces.
-
A shower tray that moves: sealant will not hold it still
An elastic joint is a seal, not a support. Stabilise the tray as its manufacturer specifies, then reseal.