
Why there is backer rod behind a sealant joint
Closed-cell PE rod sets depth and stops the bead bonding to the back, so the joint can stretch on two faces.
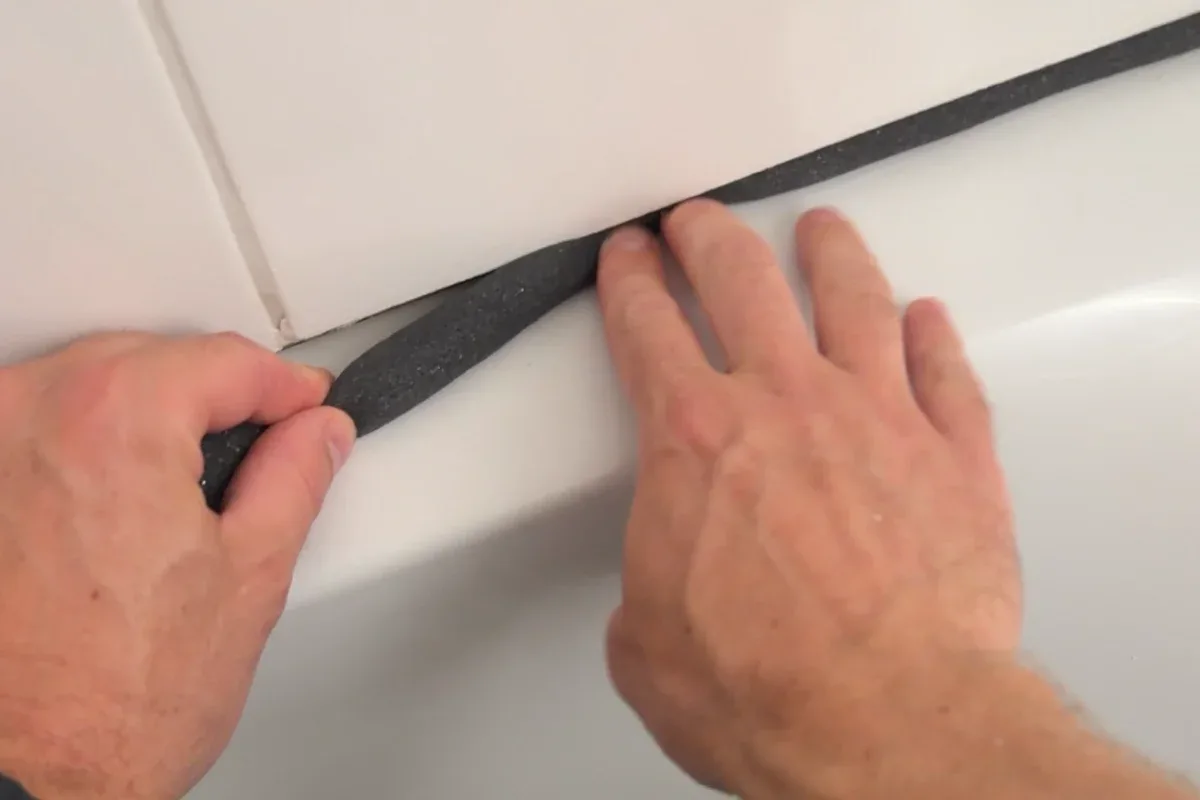
Backer rod is not cheap filler. It stops three-sided adhesion and sets how deep the silicone sits. Without it, a deep joint often tears or peels when the building moves.
What the rod is for
An elastic joint should bond to two flanks and be free to change shape. If it also sticks to the back of the gap (tile adhesive, cement, a board), you have three-sided adhesion. Movement then pulls a rigid plug. The bead tears in the middle (cohesion) or lets go of a flank (adhesion). In a shower that path lets water behind the tiling.
Closed-cell PE backer rod does three jobs:
- It sets sealant depth instead of letting you flood the void.
- It is a non-stick back, so the bead works on two faces.
- It gives something to press against, so the silicone wets the flanks.
It is not a trick to save money on silicone. Open-cell foam in a wet room acts like a sponge and can hold moisture behind the joint. Newspaper, wool or cardboard rot. Use closed-cell PE.
When to use it — and when not
Use it when the gap is deeper than the sealant thickness you want, and when the back is cement or adhesive.
Do not ram rod into a joint so shallow that the foam will not sit (often under about 5 mm deep). Then a PE bond-breaker tape on the back is the usual way to free the third face.
Do not use elastic rod in a rigid, fully filled mortar or filler joint. That is a different detail.
A common size rule on site is a rod about 20–30 % wider than the gap so it wedges and stays while you gun. Push it in with blunt tools. If you pierce the skin, gas can bubble through the fresh silicone.
Depth in outline
For many elastic joints, a width-to-depth ratio around 1:1 on narrower gaps (often under about 10 mm) and closer to 2:1 on wider ones is the usual workshop starting point. It is a geometry habit, not a substitute for the silicone’s own joint-design notes. The rod is the stop that lets you hit that section.
After the rod is in
Clean the flanks, degrease, primer if the substrate needs it, gun the joint full without voids, and tool it. If you are replacing a failed shower joint, check whether the old rod is wet or torn and replace it.
Exceptions
A moving shower tray still has to be supported first. Correct backer rod will not hold a rocking tray. Three-sided adhesion is the joint-shape problem; support is the construction problem.
What I use on this joint
-
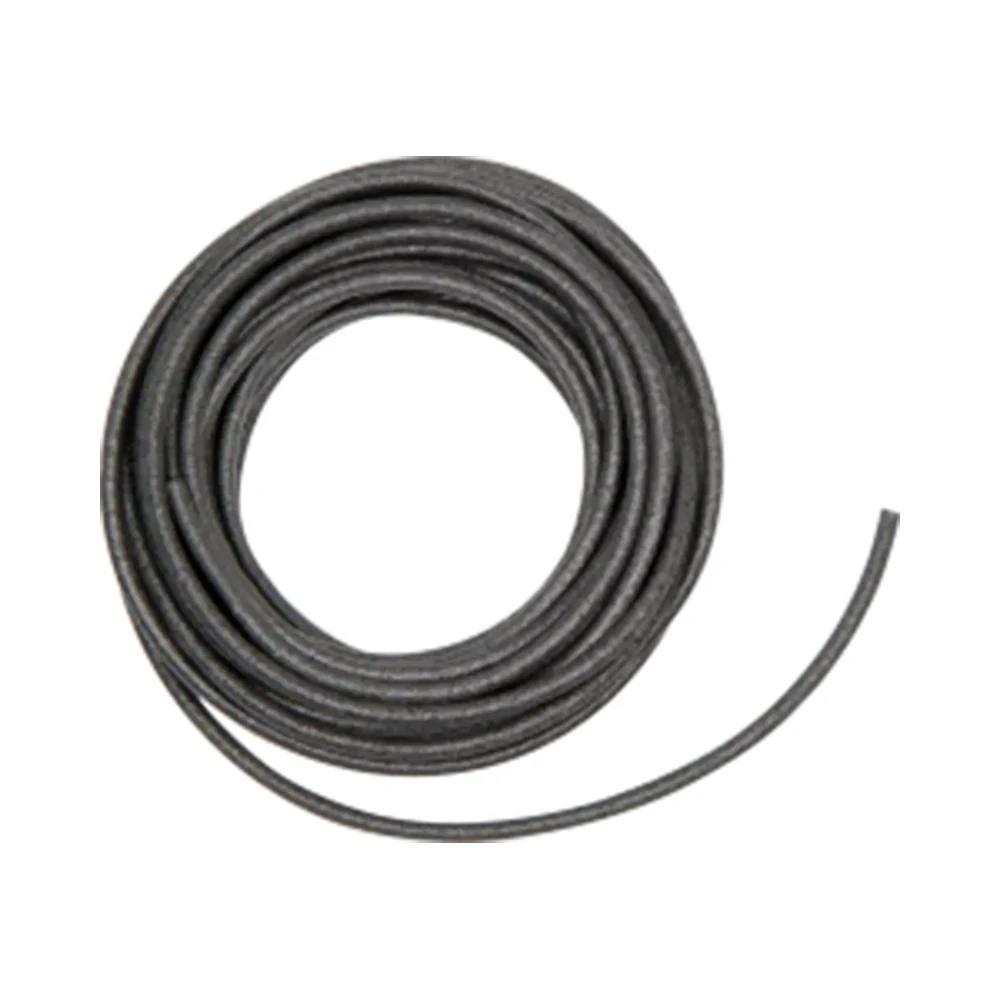
Backer rod
Closed-cell PE rod to control depth and prevent three-sided adhesion.
-
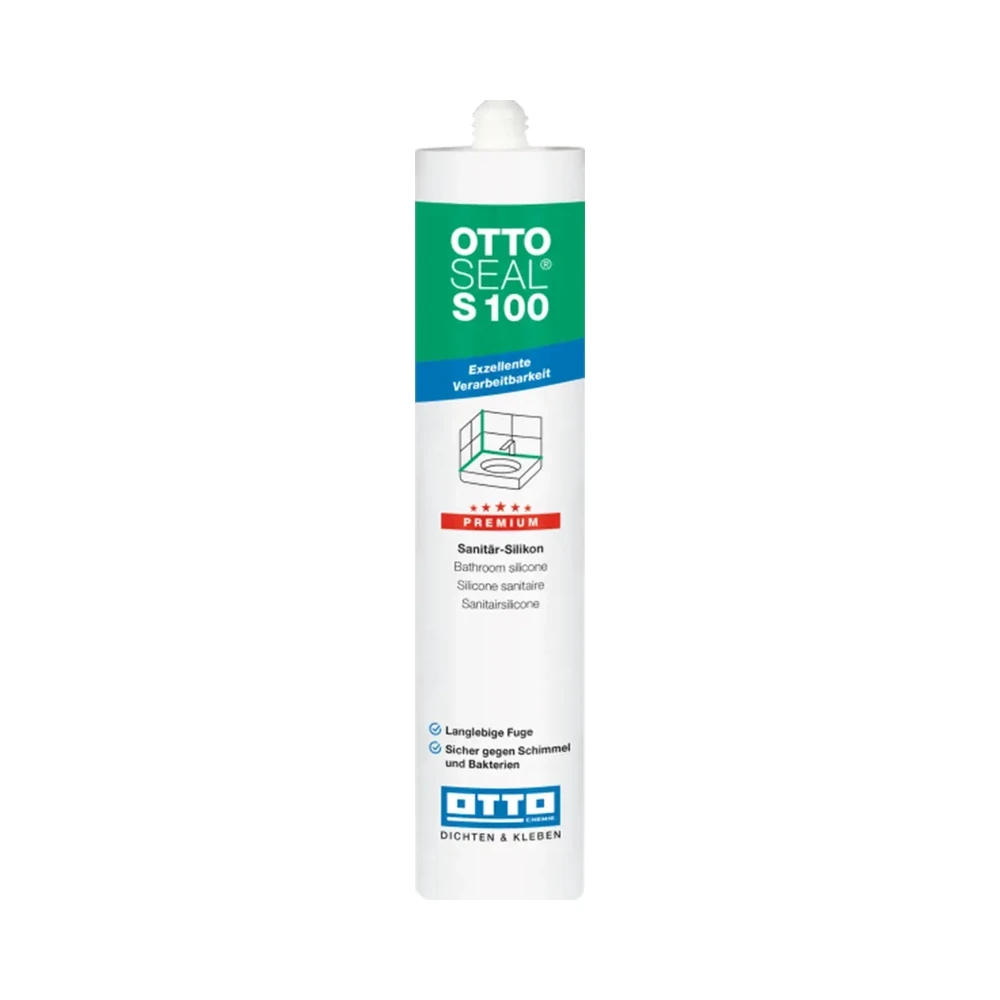
OTTOSEAL S100
The sanitary silicone I use on showers and baths. Elastic — not a staining-risk stone silicone.
OTTOSEAL S100 Purchase link not available
-

Why silicone peels: adhesion, primers and a clean substrate
If the bead peels leaving the tile clean, it never bonded. Greasy household cleaners, damp faces and skipped primer are the usual reasons.
-
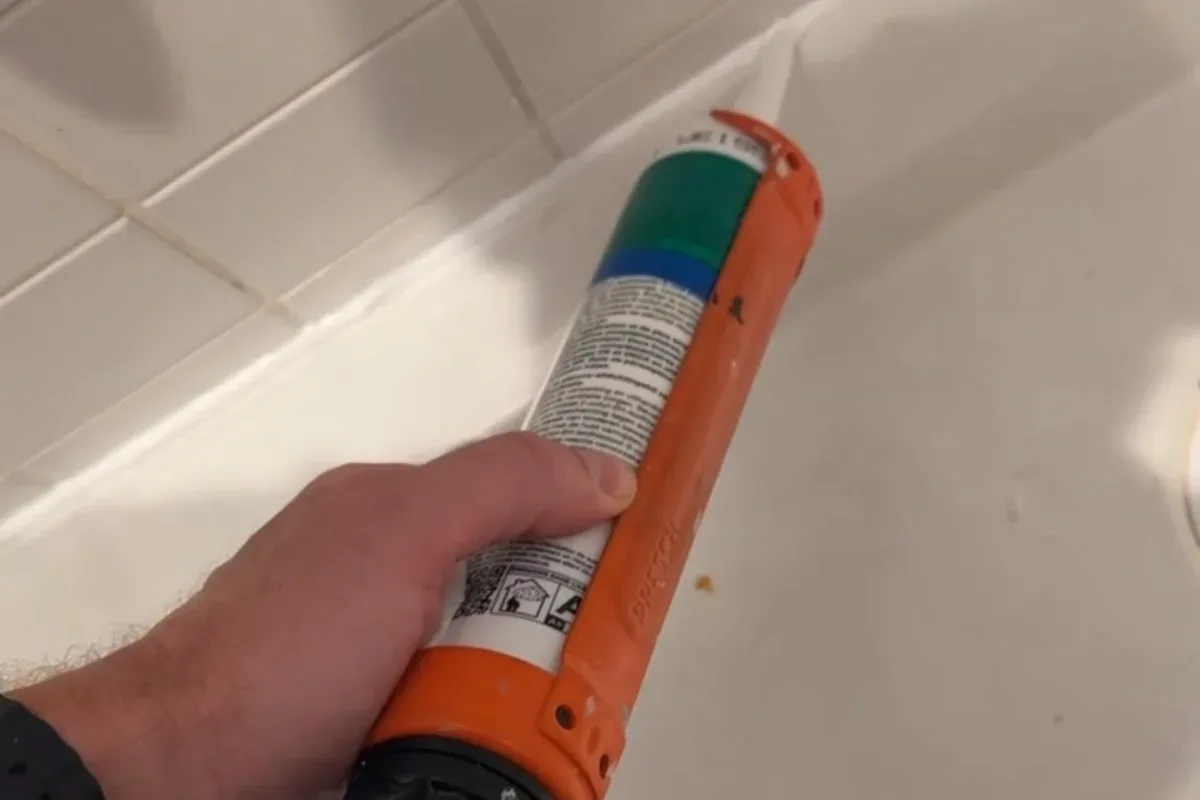
Three-sided adhesion: why a “full” joint tears
If the silicone bonds to both flanks and the back, it cannot stretch; backer rod or bond-breaker tape frees the third face.
-
Can you paint the joint? Silicone no; acrylic yes
Paint pulls off silicone; in the shower you buy the cartridge colour, not a brush.