
Do you fill the bath before sealing?
Acrylic and thin steel often sag under weight. Filling is not a universal rule: watch how that bath moves and what its maker asks.
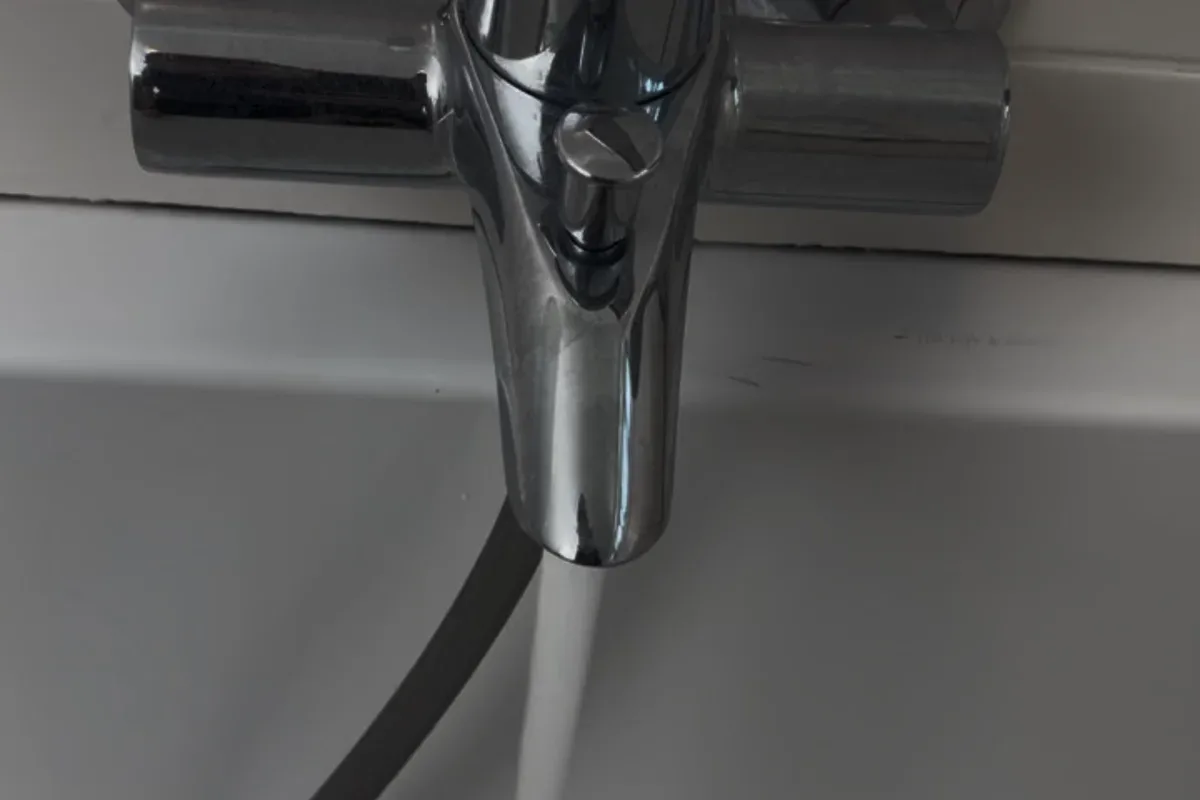
On acrylic or thin-steel baths on feet, the rim often drops a few millimetres under water and a person. Many makers ask you to ballast before sealing; it is not a law for every bath. Well-bedded cast iron moves little. A 2 mm gap will not take 2 mm of sag.
Movement matters more than the myth
There is no single “always fill the bath” rule. It depends on the material, the support and that bath’s installation notes.
Acrylic, composite and thin-walled steel — especially on adjustable feet — often sag a few millimetres once there is water and a person in it. Seal it empty and the bead is short: when you fill, the joint goes into tension and tears or lets go of a flank.
A heavy cast-iron bath, well set in masonry, typically moves little. Ballast is then less critical. A shove on the rim to check is useful; it does not replace the maker’s sheet.
If the rim already flexes when you stand in it, leaving water in during cure makes sense. If the feet rock or the frame twists, pack the bath first. Sealant is not a prop.
When I ballast — and when not yet
Typical on acrylic or sheet steel on feet: after a dry clean, fill roughly half to three-quarters with lukewarm water and leave it until the joint has cured through (people often talk about a day, depending on depth and product). Many bath makers ask for that. Follow them if they say so; do not invent it if they do not.
Not yet: cutting out the old bead, degreasing and drying. That is done with the bath empty. Fill too early and you trap moisture on the flank; adhesion fails.
Ice-cold water on a hot day: condensation on the acrylic. Boiling water: steam. Lukewarm, and flanks dry to the touch.
Do not pull the plug the moment you have tooled. The silicone is just starting to skin; if the rim lifts then, you lock stress into a mass that has not cured.
Geometry ballast will not fix
A typical sanitary silicone takes movement on the order of 25 % of the joint width, as an ISO class, not as a miracle. A 2 mm gap and 2 mm of sag: the sums do not work, ballast or not. An elastic bath meeting usually wants about 5 mm width at a minimum, PE backer rod if the void is deep, two-sided adhesion.
How I do it
- Cut out the whole old joint.
- Degrease rim and tile with the bath empty, then let it dry.
- Set backer rod where the gap is deep.
- Primer only if that substrate needs it.
- Ballast if the bath type and the maker justify it.
- Sanitary silicone (OTTOSEAL S100 here), tool it, leave the water still while it cures.
Exceptions
Ballast without geometry is not a miracle. Loose support: building work, not paste. Cast iron sitting well: no need to stage a fill “because the internet said so”.
What I use on this joint
-
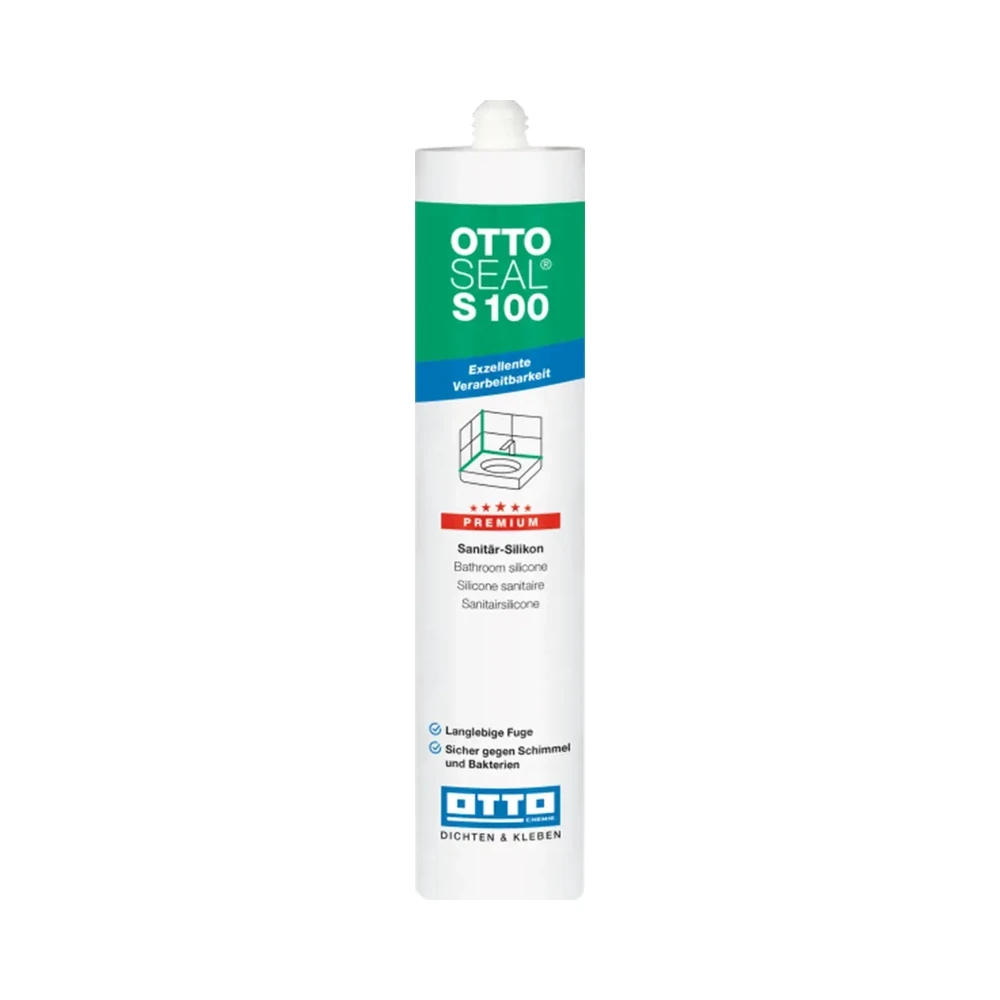
OTTOSEAL S100
The sanitary silicone I use on showers and baths. Elastic — not a staining-risk stone silicone.
OTTOSEAL S100 Purchase link not available
-
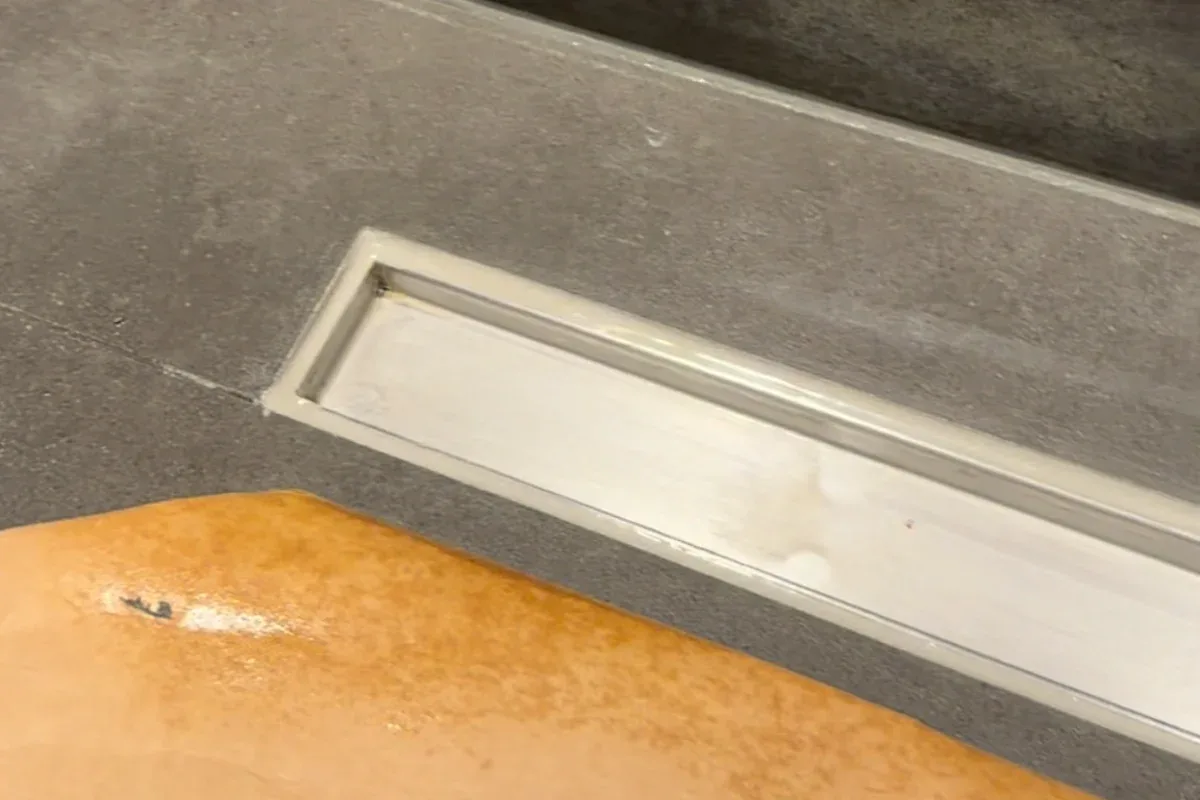
The joint peeling off the tray or bath
On acrylic and composite, peel is usually adhesion plus movement. Tray support and an elastic joint are two different jobs.
-
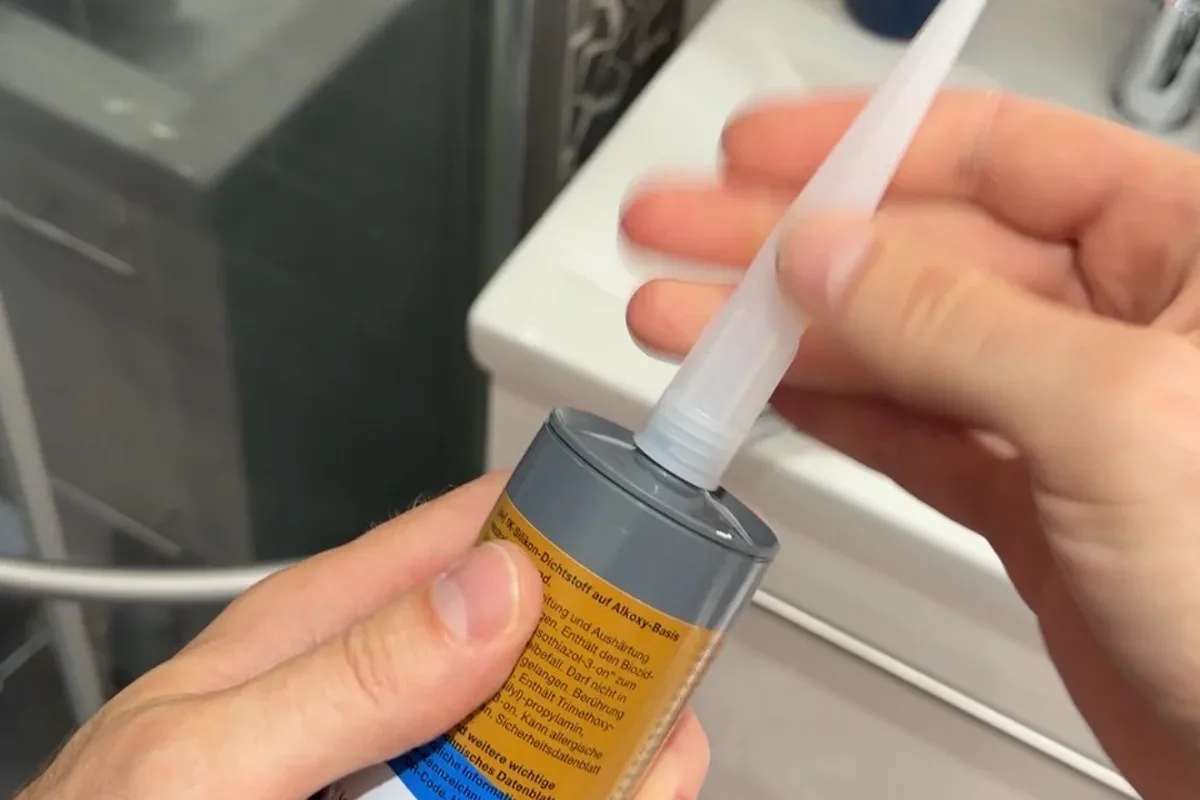
A shower tray that moves: sealant will not hold it still
An elastic joint is a seal, not a support. Stabilise the tray as its manufacturer specifies, then reseal.
-
How wide a silicone joint can be
In a bathroom the useful range is usually 5–15 mm; under that there is no body, and beyond about 20 mm it is no longer a cartridge job.