
Water behind the shower profile: more silicone almost never fixes it
Seal the wet side shut and the profile becomes a tank. Seal the dry side and let the wet side drain.
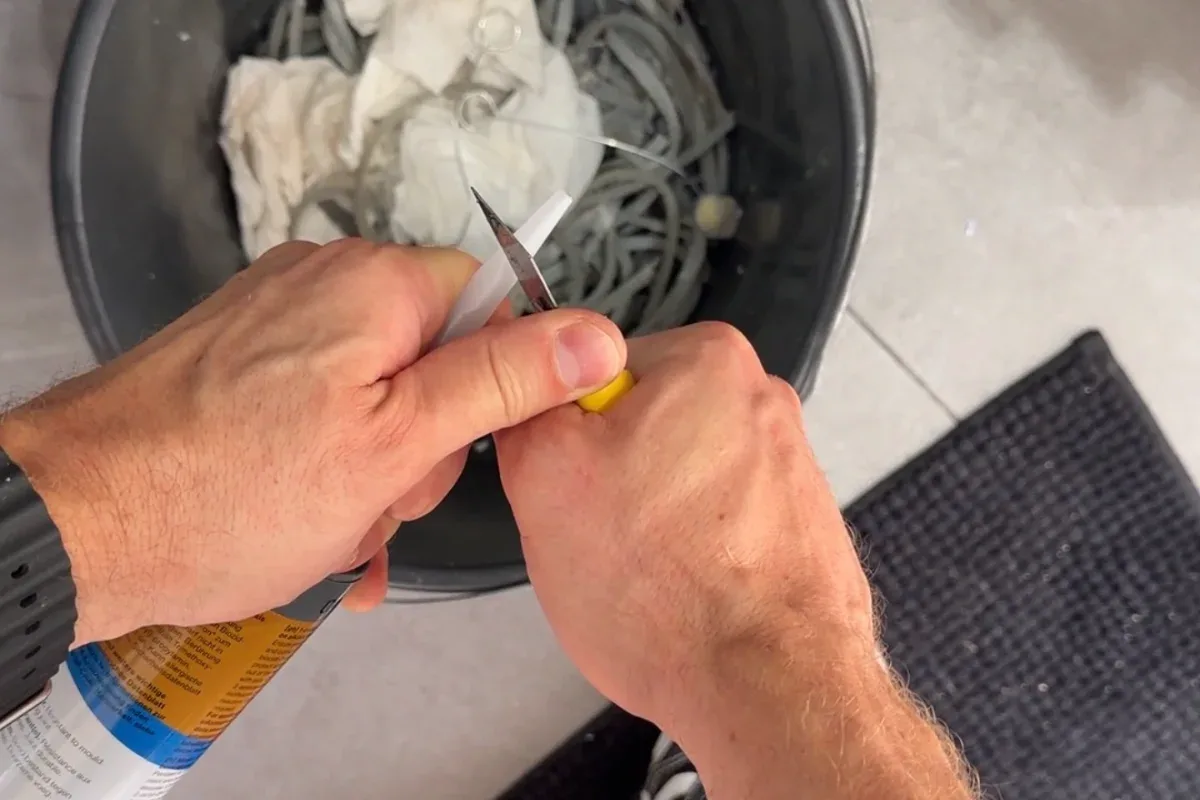
On many screen profiles you seal only the dry side. The inner bottom edge stays open so water can run back into the shower. If water still comes out behind, strip the old joint; do not add another bead.
The profile is not a tank
Splash finds its way in through hinges, adjustment gaps and the profile’s own seams. On many systems that inner void is a drain channel: water is meant to run back into the tray or cubicle.
Seal the wet side at the bottom and you turn the profile into a reservoir. Water sits, picks up soap, goes black, and when it has nowhere to go it pushes out through screw holes, grout or the tile meeting. It looks like a leak “behind the profile”. You capped the drain.
People think sealing both faces is extra insurance. On a glass-screen profile it is often the opposite.
When to seal — and when not to
Do seal the dry side. The vertical meeting with the tile, and the horizontal meeting with the floor or tray on the face that does not take the spray. Neutral sanitary silicone, elastic, built for standing moisture. I use OTTOSEAL S100 here.
Do not seal the inner bottom when the system is meant to drain back into the shower. That stretch is left open on purpose.
Do not add a second layer. If water still comes out, cut the old joint out fully, clean, and start again. Fresh silicone on dirty old silicone will not bond properly.
How I do it
- Check tile and profile: clean, dry, no leftovers. Cut out all the old sealant.
- Degrease profile and tile with a technical cleaner and a lint-free cloth. Let the faces dry.
- If the adjustment gap is deep, set closed-cell PE backer rod so the sealant bonds on two faces, not three.
- Apply a continuous bead on the dry side, vertical and horizontal.
- Leave the inner bottom open if the profile drains to the tray.
- Tool the joint so water can run off and the flanks are filled.
Do not seal onto a still-damp substrate. Adhesion fails quickly.
Mistakes I see a lot
Closing the profile all the way round “for hygiene”. Using acrylic sealant, or any random tube, in a joint that lives wet. Judging only what you can see: sometimes the water comes from a cracked tile or tanking that never reached the corner. Then the profile bead is not the repair.
Exceptions
If that profile’s maker tells you to seal a stretch on the wet side, follow the system, not a generic recipe. The tile-to-tile corner is still a normal shower joint.
Silicone skins in minutes and cures from the outside in. Leave the shower unused for at least a day so the bond can take; that is common sense, not a magic timer.
What I use on this joint
-
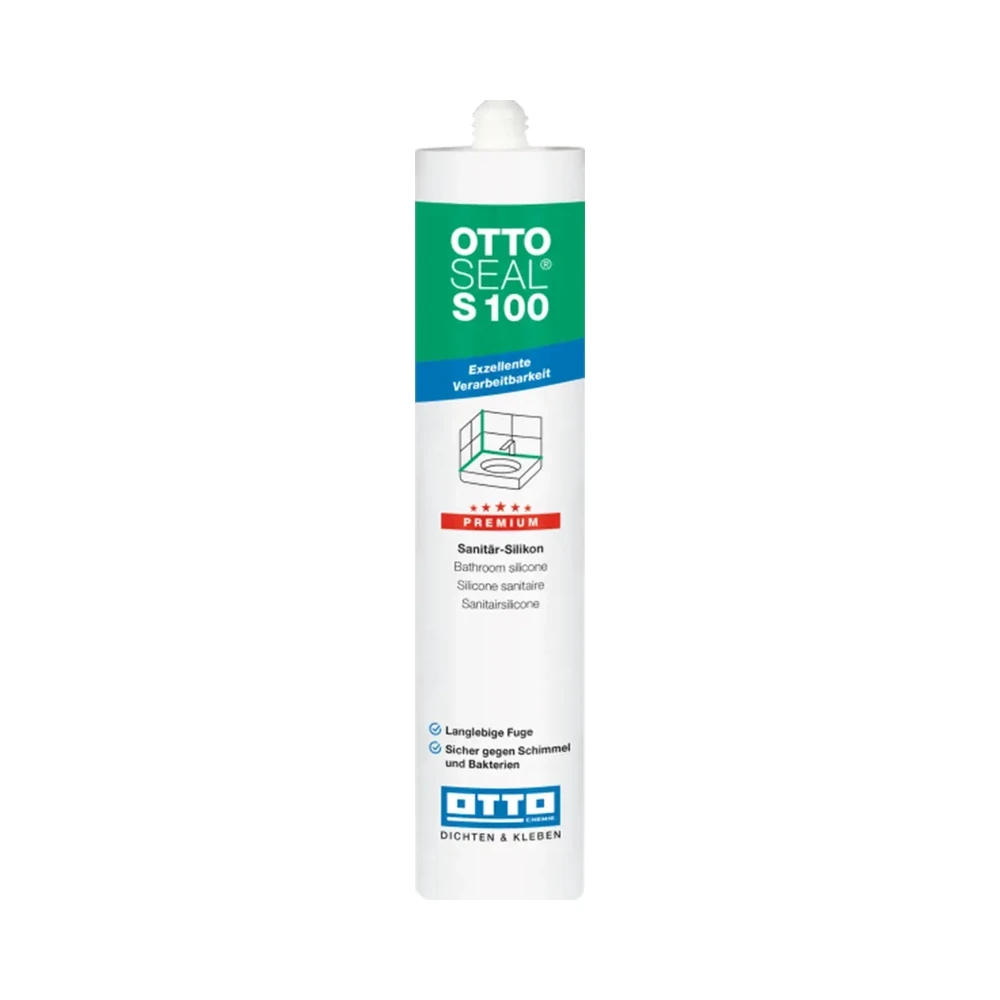
OTTOSEAL S100
The sanitary silicone I use on showers and baths. Elastic — not a staining-risk stone silicone.
OTTOSEAL S100 Purchase link not available
-
Shower screen: inside, outside or both?
On many aluminium profiles you seal the dry side and leave the wet side so water can run back into the shower.
-
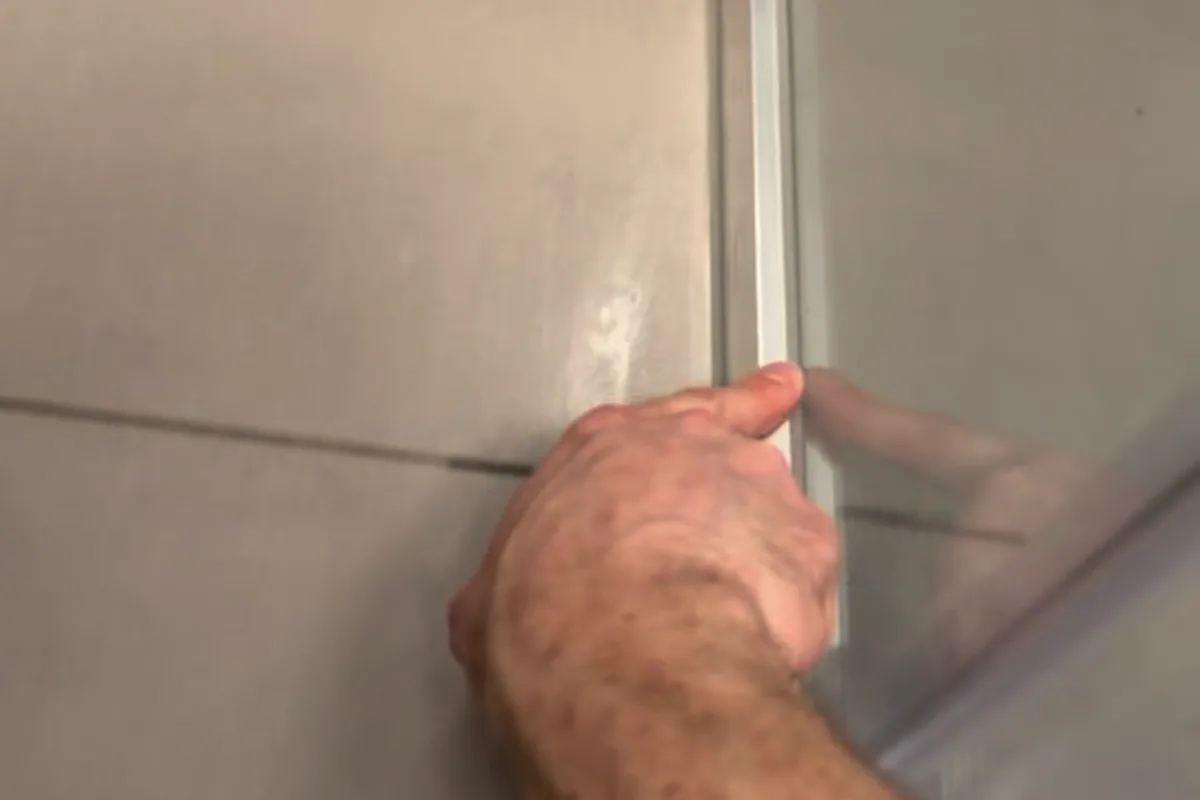
Walk-in shower: more standing water, tighter demands
Without a tray to lead the water away, it sits on the floor and against the glass: the joint works harder than in a classic shower.
-
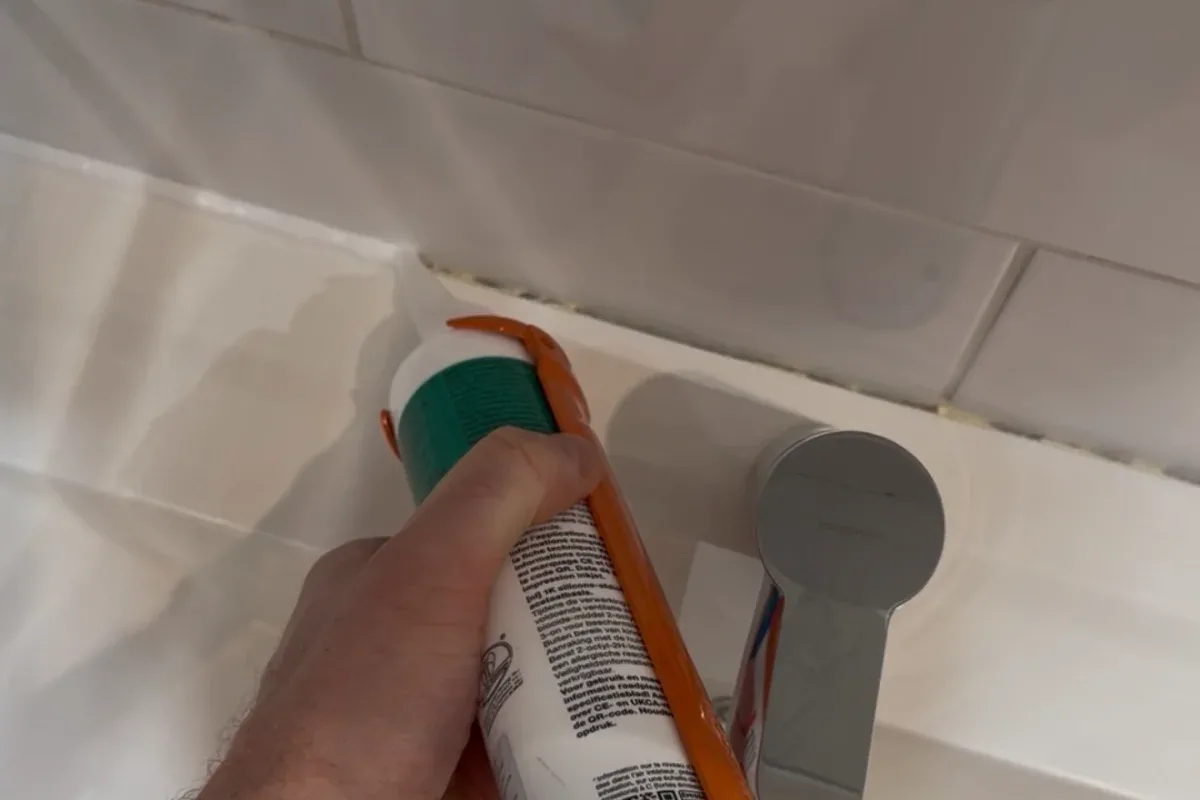
Can I put new silicone over the old layer?
Cured silicone will not take a chemical bond. You get a cold joint and water creeps between the layers.