
Seal the bathroom yourself: the order that lasts
Push sanitary silicone into the joint, do not lay it on top. Clean flanks, two-sided adhesion, a profile that sheds water — not washing-up liquid.
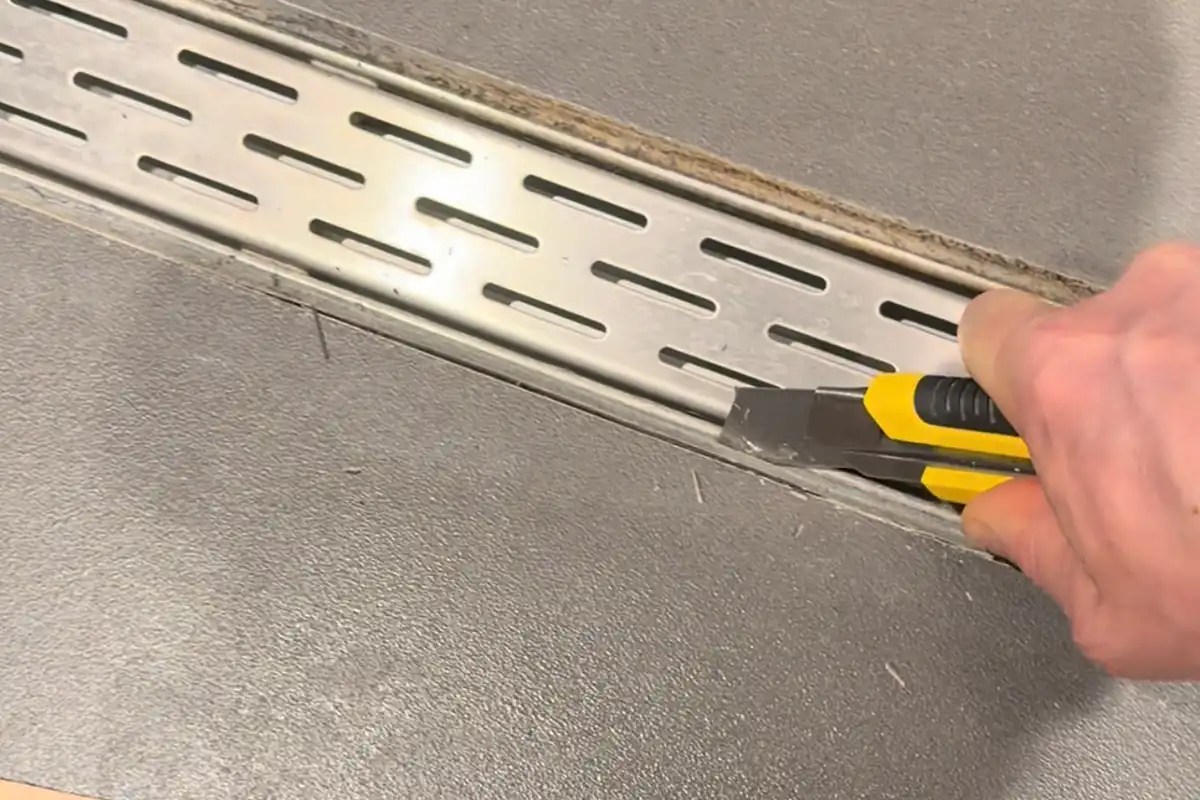
Strip the old bead, degrease properly, set backer rod in deep joints, push sanitary silicone to two faces and tool with a pH-neutral finisher — not washing-up liquid and not over leftover silicone.
When to do it yourself — and when not
A steady hand, a proper gun, a spatula and a technical cleaner: you can reseal a ceramic shower that is otherwise sound. Do not start if old silicone is still on the flanks, if the tray flexes when you stand in it, if water is already behind the tiling, or if the faces are natural stone you have never sealed. Those are strip, support, leak-path or stone-chemistry jobs first. Matt design silicone is unforgiving on tooling; practise or leave it.
New silicone on old silicone does not weld. It peels in weeks. Always recut.
Adhesion, cohesion, two faces
The bead has to stick to the tile and the tray (adhesion) and hold together in the middle (cohesion). If it also sticks to the back of the gap — three-sided adhesion — it cannot stretch. House movement then tears the mass. In a deep joint I set closed-cell PE backer rod so the silicone bonds on two flanks and works like a horizontal elastic. Skip that and a pretty face can still leak within a year.
Cheap cartridges extended with solvent can shrink as they cure and pull hollow. I use a high-solids sanitary silicone such as OTTOSEAL S100 on a normal ceramic wet room. That is a tool, not a slogan.
Order of work
- Cut out every scrap of old bead. Use a remover on the invisible film if it remains. Degrease with a residue-free technical cleaner — not white spirit that leaves oil, not glass spray.
- Let the flanks dry. Primer only if that substrate needs it (plastics and some composites often do).
- Backer rod if the gap is deep.
- Cut the nozzle at about 45°, as wide as the joint, not a trumpet.
- Push the silicone into the joint with constant gun pressure. Laying a sausage on top traps air and fails at the edge. If you see bubbles, pull that stretch and refill before you tool.
- Light mist of a pH-neutral tooling liquid, not washing-up detergent and not saliva. Mouth bacteria in a wet joint is a mould starter.
- One clean pass with a spatula or wooden profile so water can run off. I do not love masking tape on showers: it often leaves a tiny upstand that holds soap.
After you finish
Skin-dry is not through-cure. Moisture-cure silicones typically build from the outside in; a figure on the order of a couple of millimetres per day at room conditions is common on packs, not a law for a cold, dry room. I keep a normal bathroom joint off a full shower for about a day, sometimes two if the section is thick. Read the cartridge you used.
Keep the room aired. Do not bleach a fresh bead to “keep it white”.
Exceptions
Acrylic in the shower washes out; silicone on a skirting will not take paint. Stone wants stone silicone. A moving tray wants support, then a joint. If you are already leaking into the floor below, closing the visible line is not a diagnosis.
What I use on this joint
-
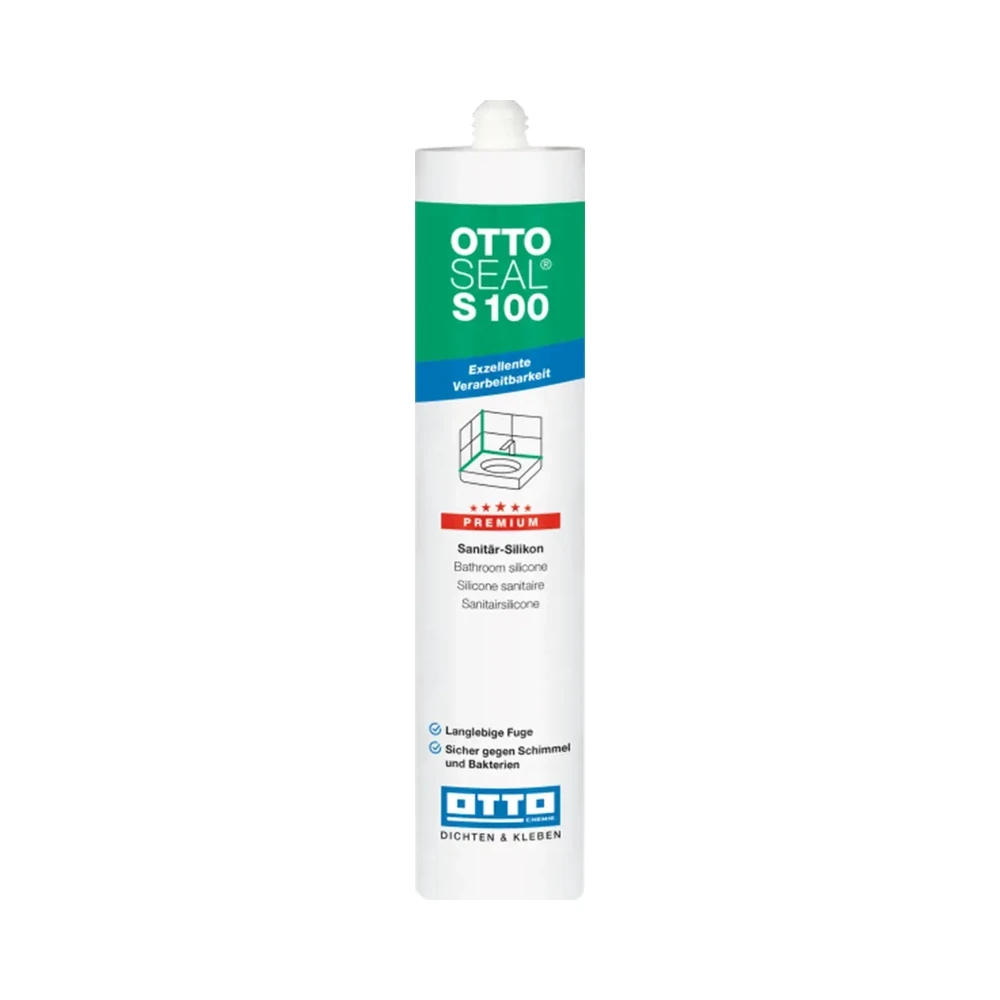
OTTOSEAL S100
The sanitary silicone I use on showers and baths. Elastic — not a staining-risk stone silicone.
OTTOSEAL S100 Purchase link not available -
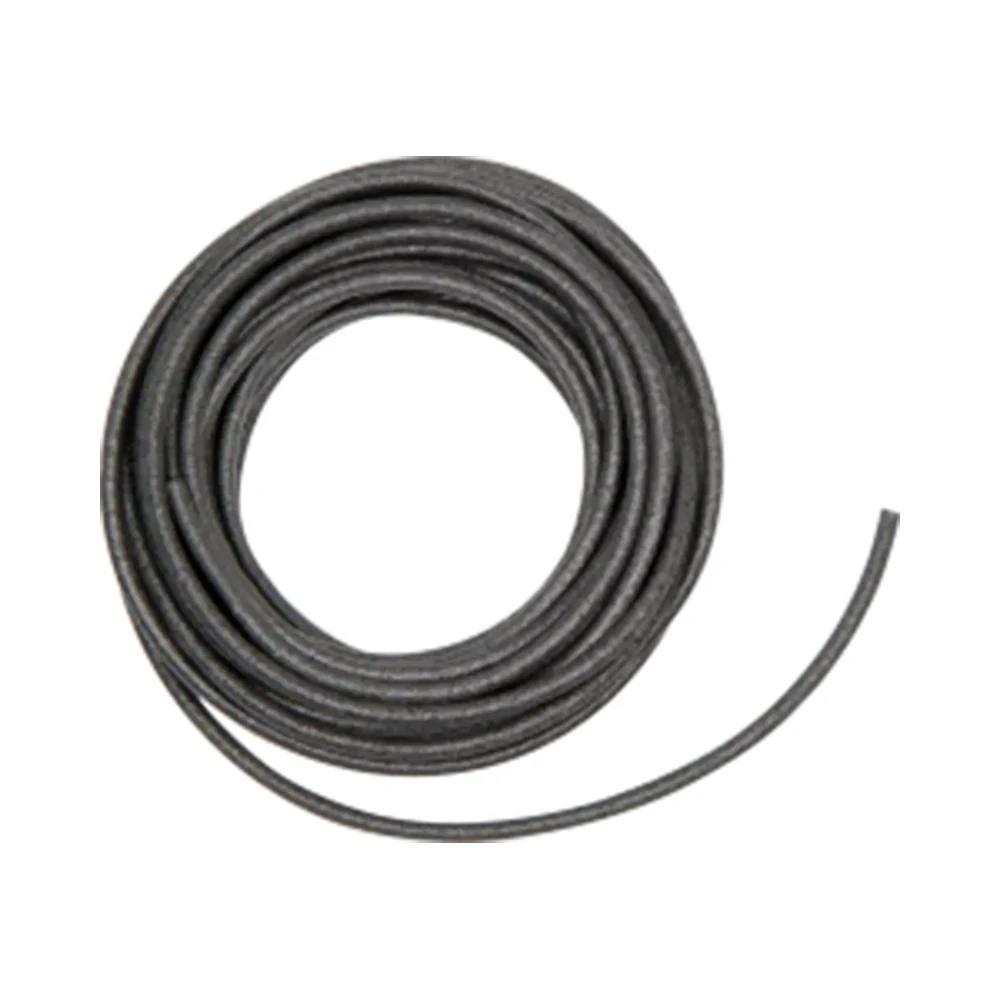
Backer rod
Closed-cell PE rod to control depth and prevent three-sided adhesion.
-
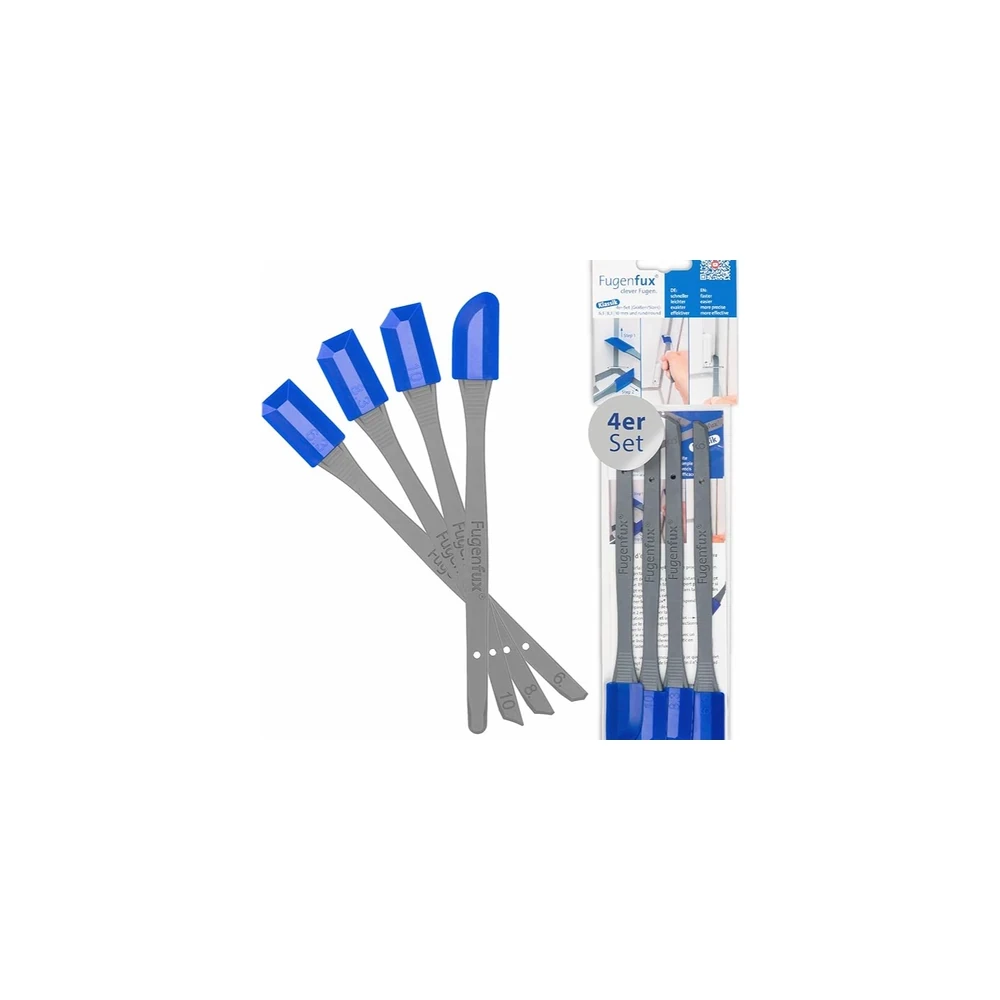
FUGENFUX
Spatula set for tooling joints to a controlled profile.
-
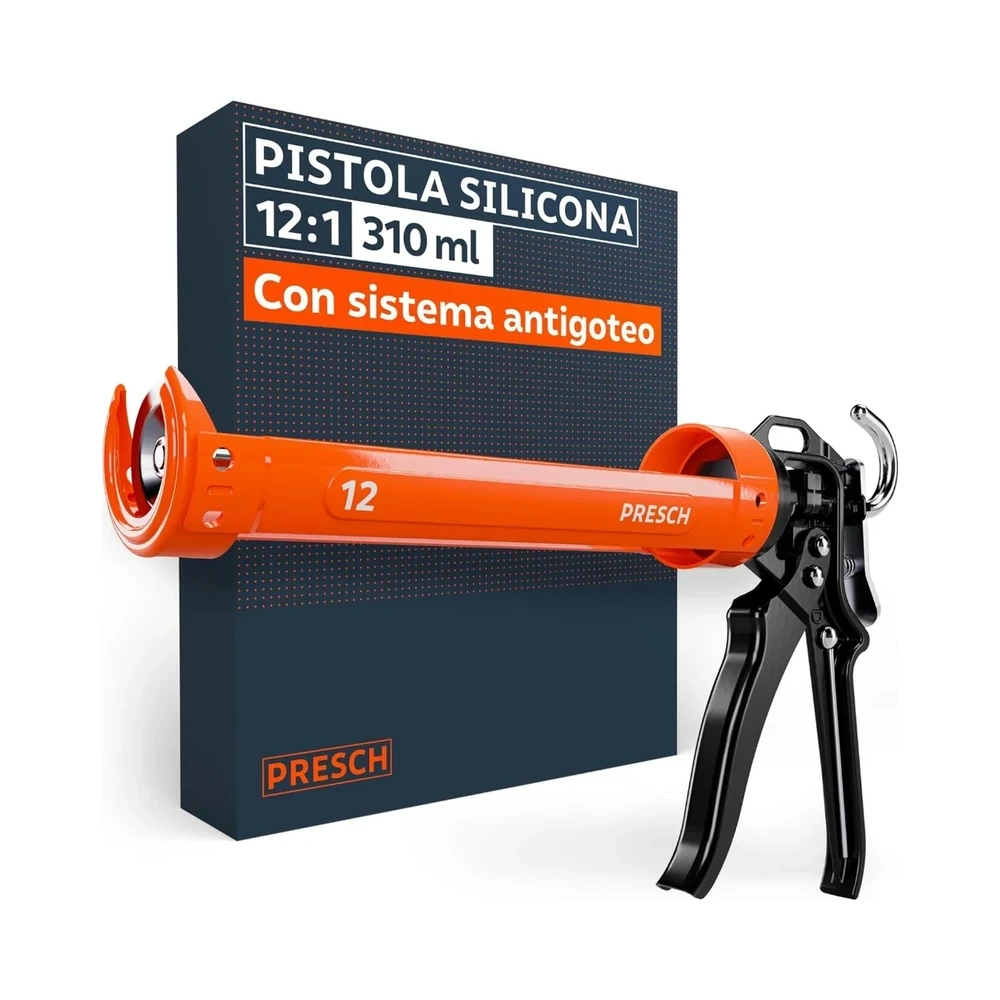
Presch sealant gun
Manual sealant gun for pushing a cartridge with control.
-
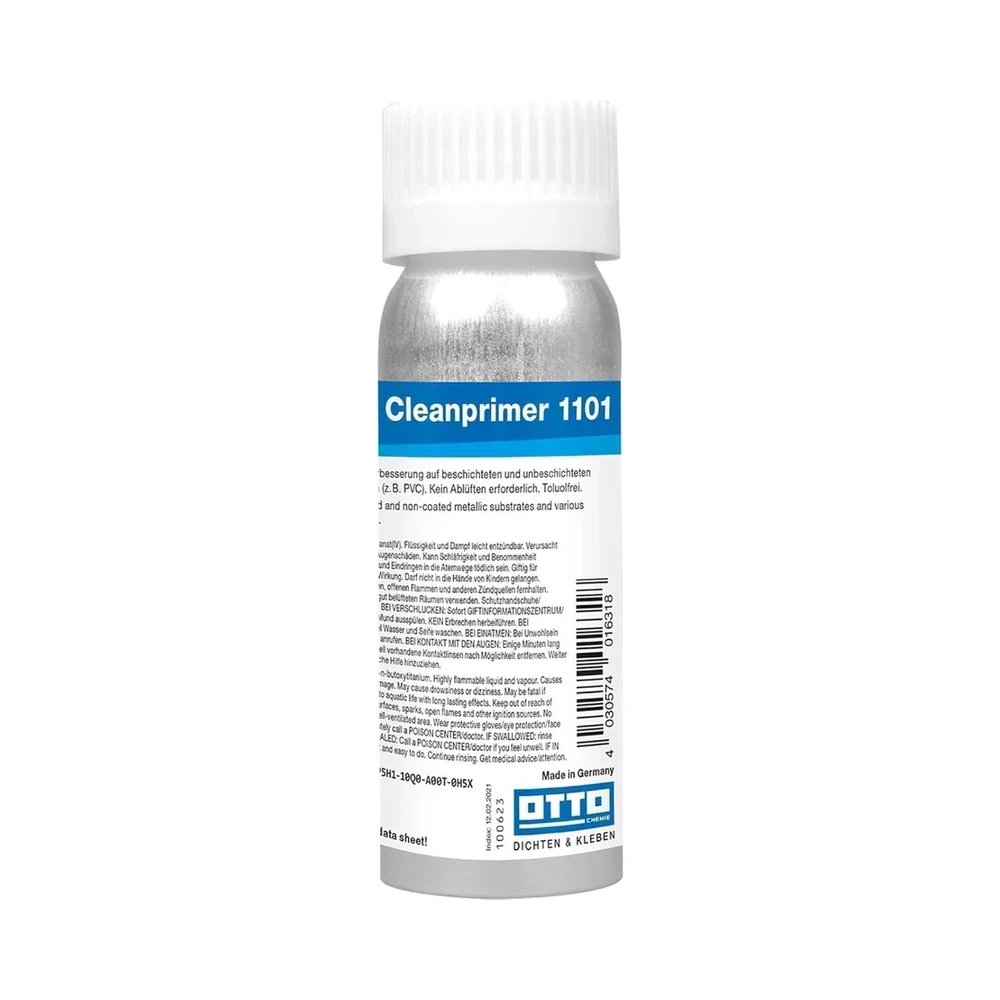
OTTO Cleaner / Cleanprimer
The technical cleaner I use to prep the substrate before sealing.
OTTO Cleaner / Cleanprimer Purchase link not available
-
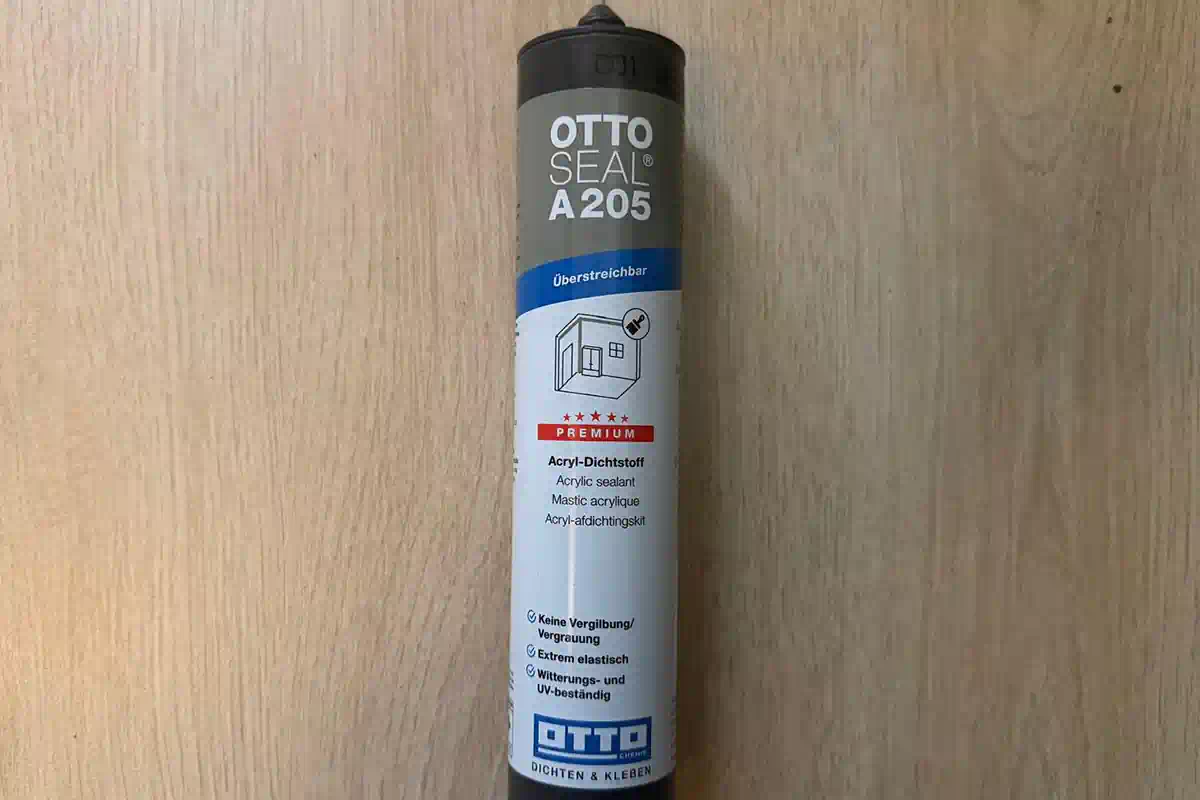
Acrylic sealant in the shower: why it will not hold water
Acrylic and silicone are different chemistries. In a wet zone acrylic can soften and fail; silicone is the usual wet-room joint.
-
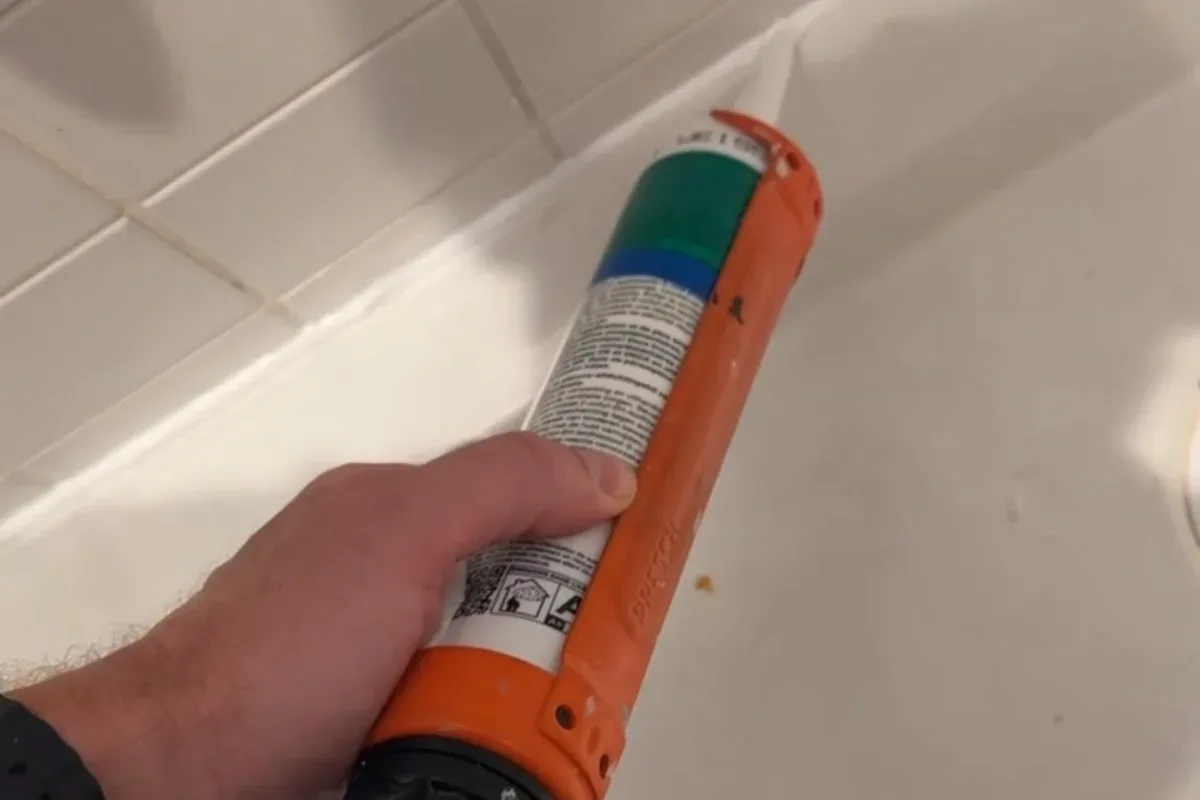
Three-sided adhesion: why a “full” joint tears
If the silicone bonds to both flanks and the back, it cannot stretch; backer rod or bond-breaker tape frees the third face.
-
Why silicone peels: adhesion, primers and a clean substrate
If the bead peels leaving the tile clean, it never bonded. Greasy household cleaners, damp faces and skipped primer are the usual reasons.