
Shower drain: where silicone belongs and where it does not
The elastic joint sits between tile and frame; grate, trap and drainage slots have to stay open.
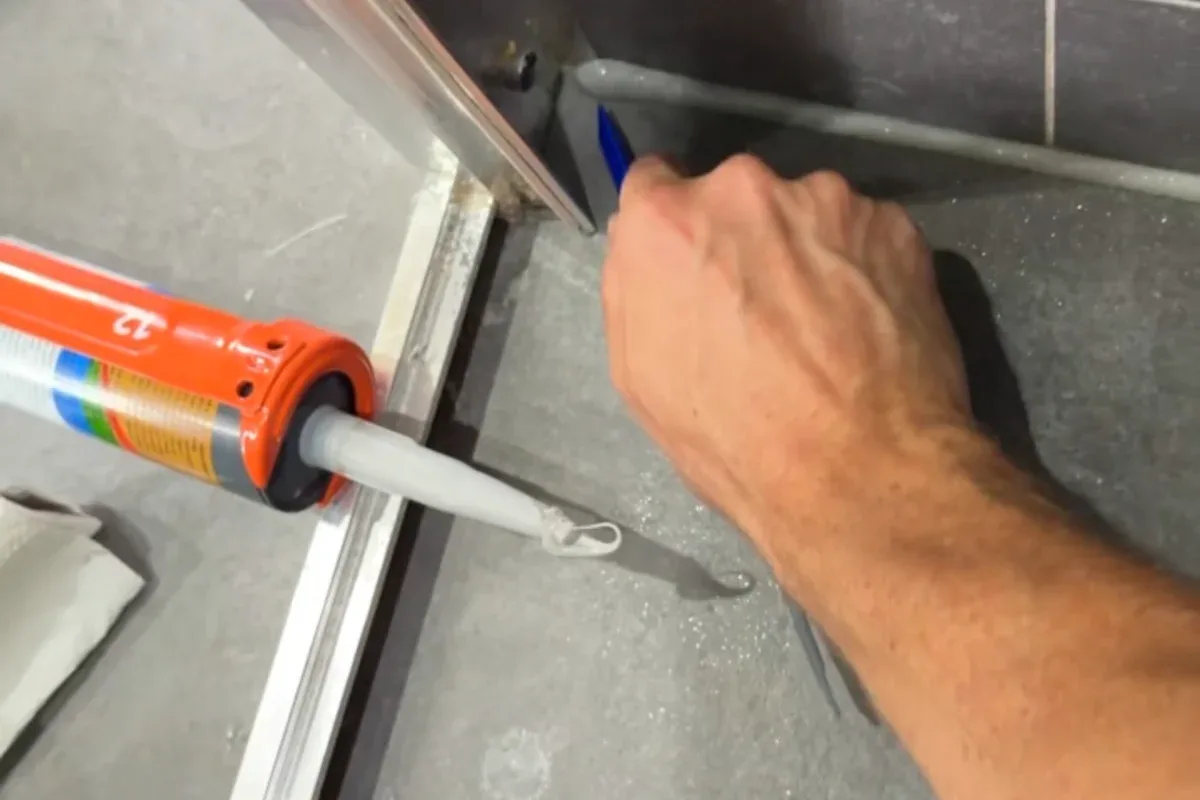
Seal the tile-to-frame meeting. Not the removable grate, not the trap, and not the flange if it blocks secondary drainage. The pipe under the floor is not closed with a bathroom bead.
Where yes and where no
A leak at the shower drain is usually a mistake about where the silicone goes, not “not enough paste”. The elastic bead belongs at the meeting between the tile edge and the stainless or plastic frame. Two materials expand differently. If you fill that with grout, it cracks and water gets under the floor.
Yes: the movement joint between tiling and frame. Also the elastic joints in the shower corners — a separate meeting.
No: the removable grate. Glue it in and you cannot clean the drain; it clogs. No the trap. No the slot under the flange if the system uses secondary drainage: many modern channels collect moisture under the tiles and take it to the waste. Close those gaps and water builds up: mould, loose tiles, smell. No the drain-to-pipe connection under the slab: that is a glued or sleeve joint, not a sanitary bead.
Why the shape matters
Heat, soap and shampoo load that joint all day. Without an elastic body, frame and tile fight. Conversely, silicone in the wrong place blocks the backup drain path.
In deep joints, closed-cell PE backer rod: two-face adhesion, not three-sided adhesion. A bead stuck to the back tears as soon as there is movement. Typical width around the frame: at least about 5 mm, so the silicone has body.
On stainless or smooth plastic, on site we often prime the flanks. Without that, adhesion lasts less under standing wet. The visible joint does not replace the membrane or waterproofing compound under the tiling.
How I do it
- Strip old silicone and adhesive residue. Degrease tile and frame.
- Primer on the flanks if the substrate does not absorb (stainless, plastic).
- Backer rod if the gap is deep.
- Elastic sanitary silicone — not acrylic sealant: acrylic will not take permanent wet.
- Tool with a professional finisher and a spatula. No finger and washing-up liquid: fats and acids in the soap knock back the mould resistance.
- Before you shower, wait for cure. At bathroom thickness, 24 to 48 hours at room temperature is usual.
If water sits on the bead, either you tooled it hollow or too proud, or the frame is not low enough relative to the floor. More paste does not fix that.
Mould under the joint
Mould under the bead means moisture behind or lost adhesion. The whole joint out, clean, treat the mould, reseal. Painting over it does nothing.
Exceptions
A tray waste with a different geometry is not the same as a linear channel. A pipe leaking under the floor is plumbing, not a tile joint.
What I use on this joint
-
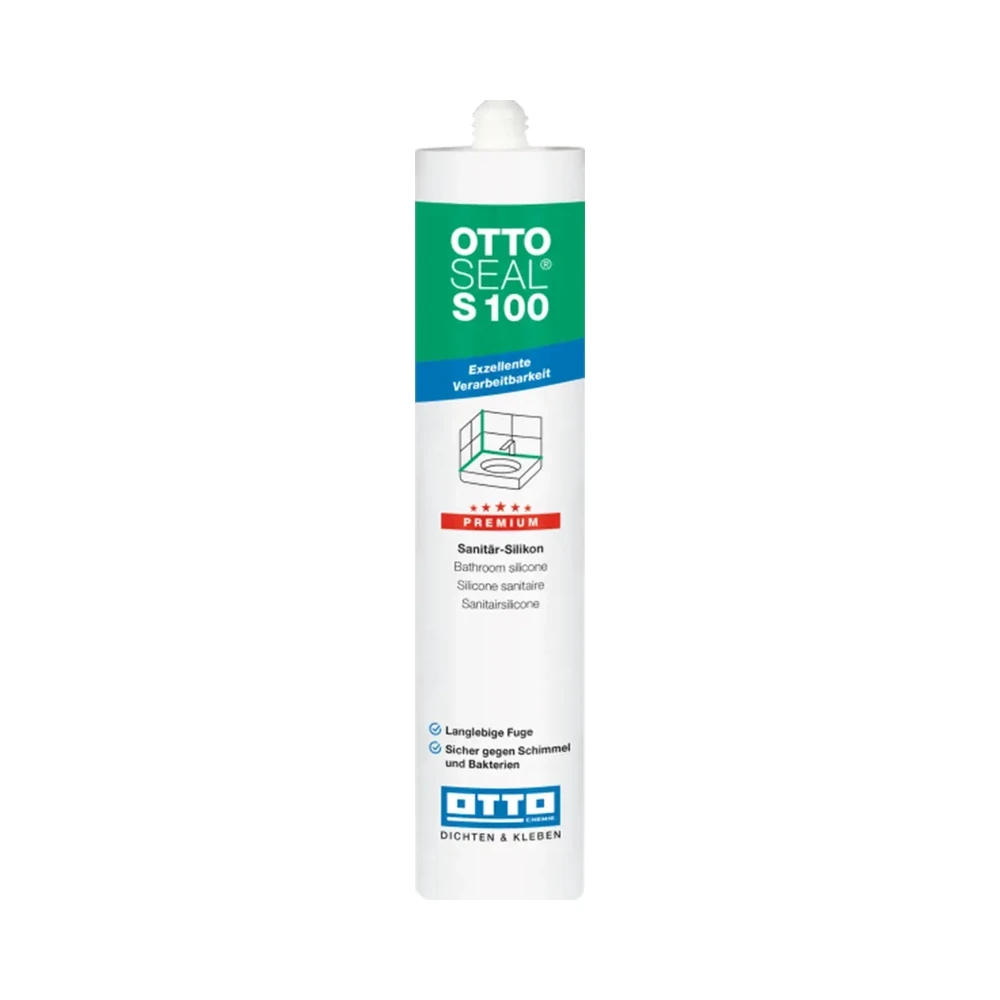
OTTOSEAL S100
The sanitary silicone I use on showers and baths. Elastic — not a staining-risk stone silicone.
OTTOSEAL S100 Purchase link not available
-
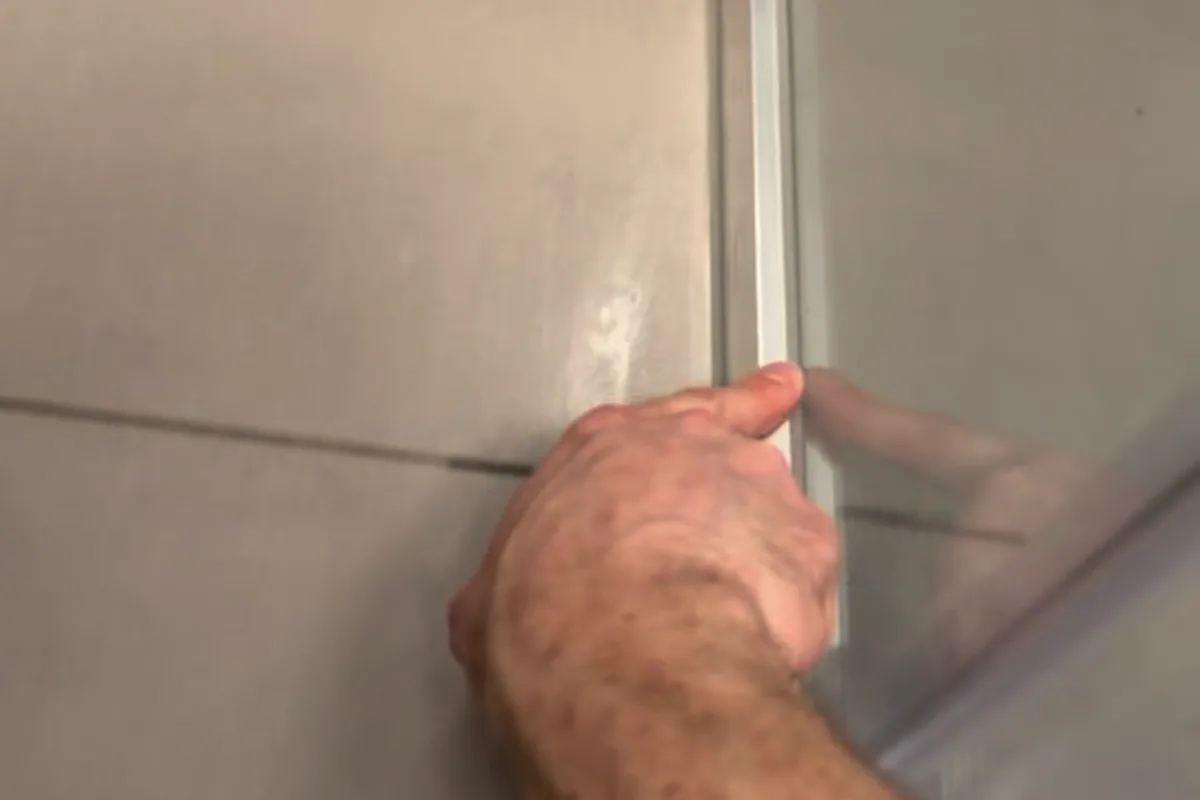
Walk-in shower: more standing water, tighter demands
Without a tray to lead the water away, it sits on the floor and against the glass: the joint works harder than in a classic shower.
-
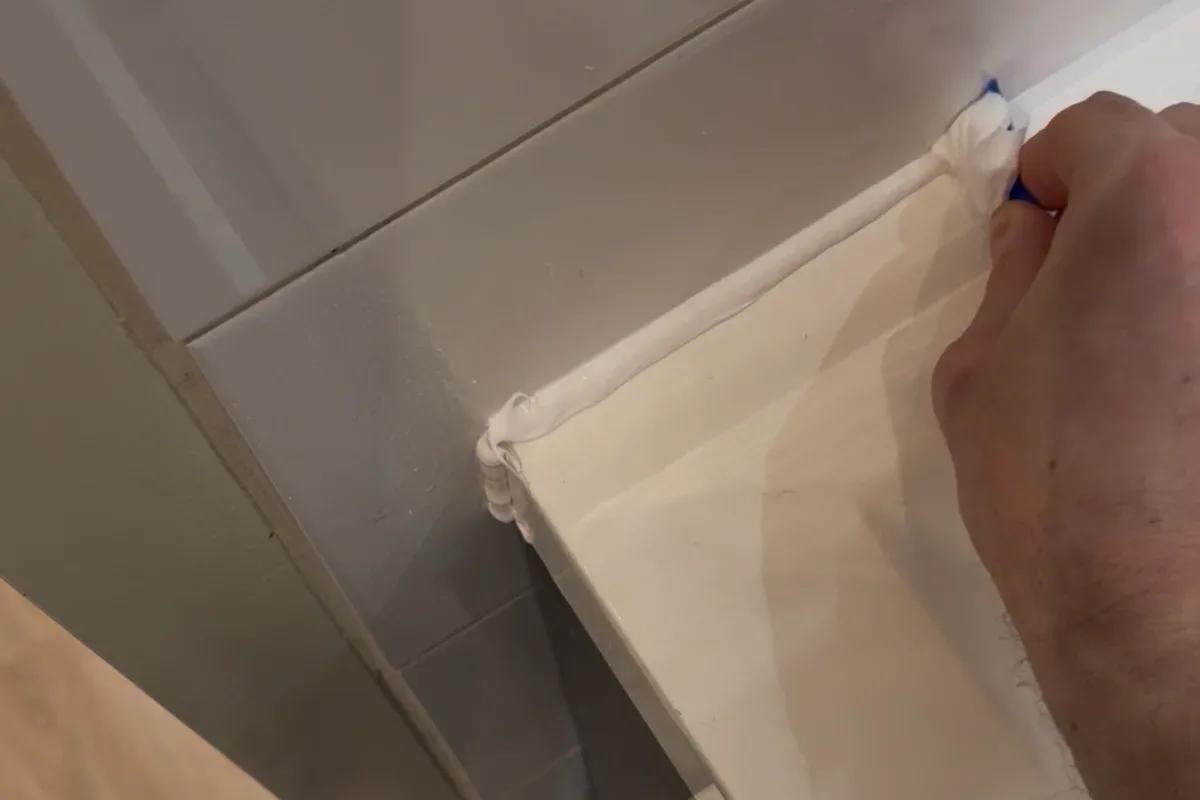
Bathroom corners: grout or silicone
Wall-wall and wall-floor internal corners take an elastic joint. Cement grout cracks there; silicone does not replace the waterproofing band behind the tile.
-
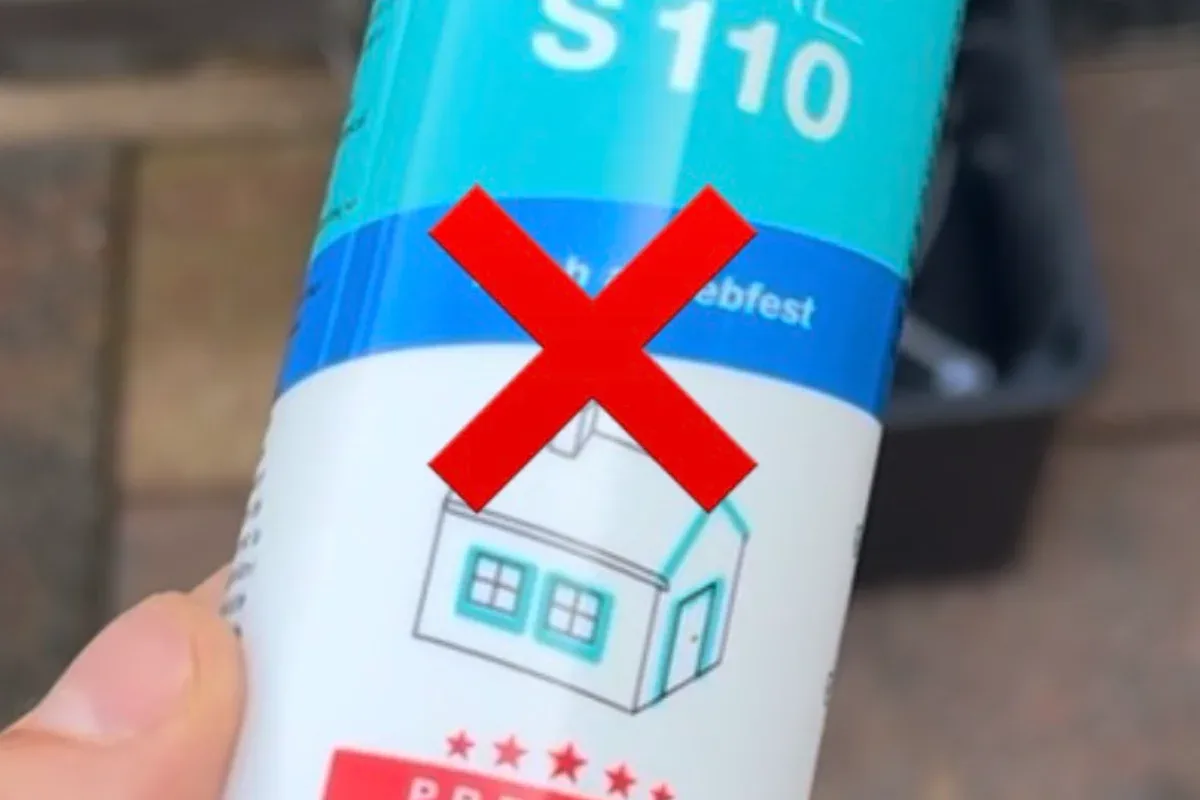
When you should not seal (yet)
A damp substrate, a loose tile or covered mould: silicone locks the problem in and vapour pushes the bead off.