
Tap and basin: why that joint splits first
The bead at the tap takes torsion, hot-cold shock and soap; if the fitting wobbles, no silicone will hold it.
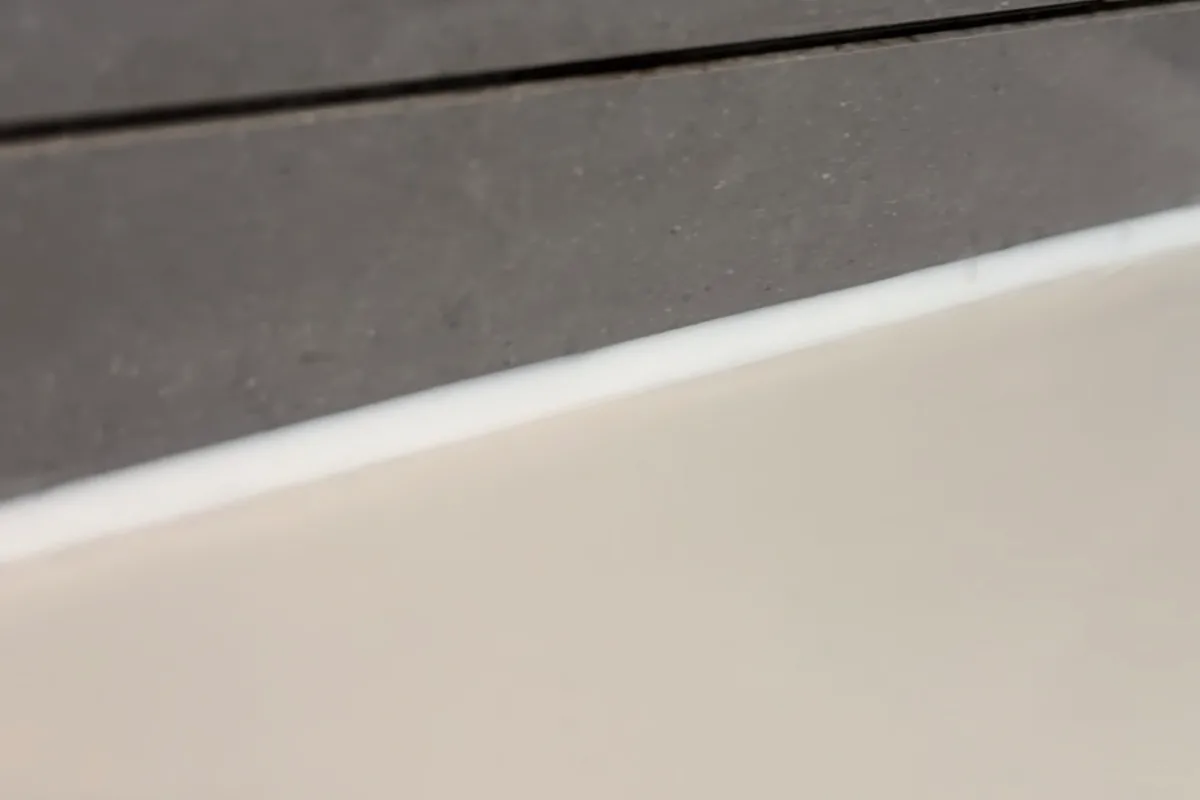
Tighten the tap under the basin before you seal. On glazed ceramic I use sanitary acetoxy silicone; on marble, granite or composite, a neutral stone silicone. A soft bead next to a long lever gets torn off.
Why it fails first
The bathroom or kitchen looks freshly sealed, and within a year the first hairline cracks appear. Not in the shower: right where the tap meets the basin or worktop. That joint is one of the most loaded in the house. A shower joint only has to follow a little movement and shed water. Here you get torsion every time you turn the lever, thermal shock (the metal heats and cools; the basin barely moves) and soap or hand-cream film that wrecks adhesion.
A mixer lever is a crowbar. Soft “universal” silicone peels off the substrate. I prefer a sanitary silicone with more body — on ceramic, OTTOSEAL S100 — because it resists that tug. The contact area is tiny: you need real adhesion at the edges, not a fat sausage of paste.
When to seal — and when not
Acetoxy sanitary silicone (S100) when the tap sits on a glazed ceramic basin: it bonds well to the glaze.
Neutral stone silicone (OTTOSEAL S70) when the tap sits on marble, granite or composite. Acetoxy and migrating plasticisers stain.
Do not seal a loose tap. If it wobbles in use, the new joint splits in days. Tighten the nut under the deck first. No sealant replaces that fixing.
Do not use a silicone-free sealant on a meeting that stays wet. That wants sanitary silicone.
If water is coming from inside the fitting (seals, cartridge), extra paste around the base will not save the cupboard. Repair the tap, then seal.
How I do it
- Check the nut under the basin or worktop is tight.
- Strip limescale, soap and the old joint completely. Fresh silicone does not bond to cured silicone.
- Degrease with a technical cleaner and let the faces dry. Household glass cleaner often leaves a film.
- Apply a thin, even bead around the base. You do not need a gutter.
- Tool with a neutral finisher and a narrow spatula. The joint should fall towards the basin, not form a cup that holds a puddle of soapy water. That puddle soaks the meeting and eventually lifts the bead.
If the tap is hard against the wall and the gun will not fit, you sometimes have to take the fitting off. Most installations do not need that.
On a new kitchen fit, I sometimes leave the base slightly nipped, gun the silicone, and fully tighten once it has skinned a little: metal and deck sandwich the bead. That is a fitting detail, not a trick for a tap that already leaks internally.
If it already leaks
Stop using it so the cupboard does not fill. Cut the joint out, let the substrate dry — often a day if water has been underneath — and reseal clean. Black on the bead is usually mould from soap and moisture: replace the joint and clean; do not paint over it.
Exceptions
A tap dripping from the spout or body is not fixed by more silicone at the foot. Natural stone and composite do not take the same chemistry as a white basin. Over old residue, the new layer lets go within a few weeks.
What I use on this joint
-
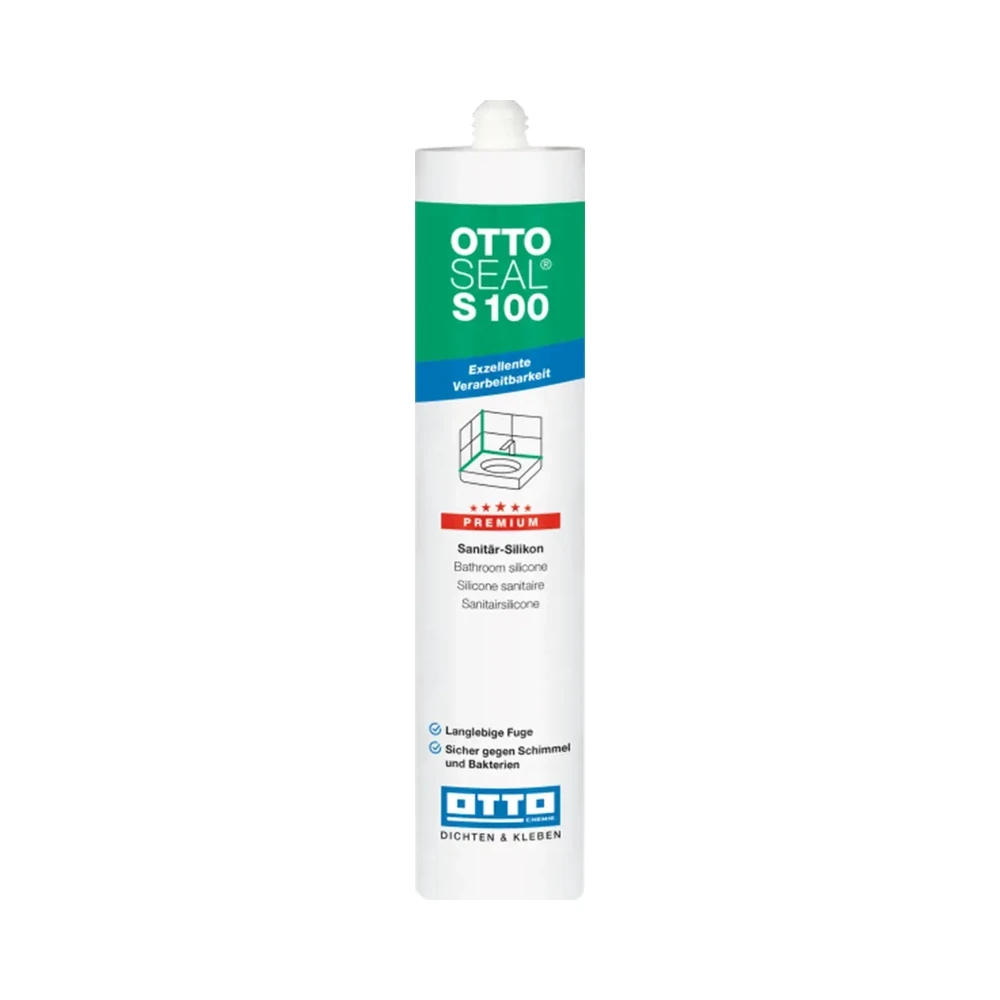
OTTOSEAL S100
The sanitary silicone I use on showers and baths. Elastic — not a staining-risk stone silicone.
OTTOSEAL S100 Purchase link not available -
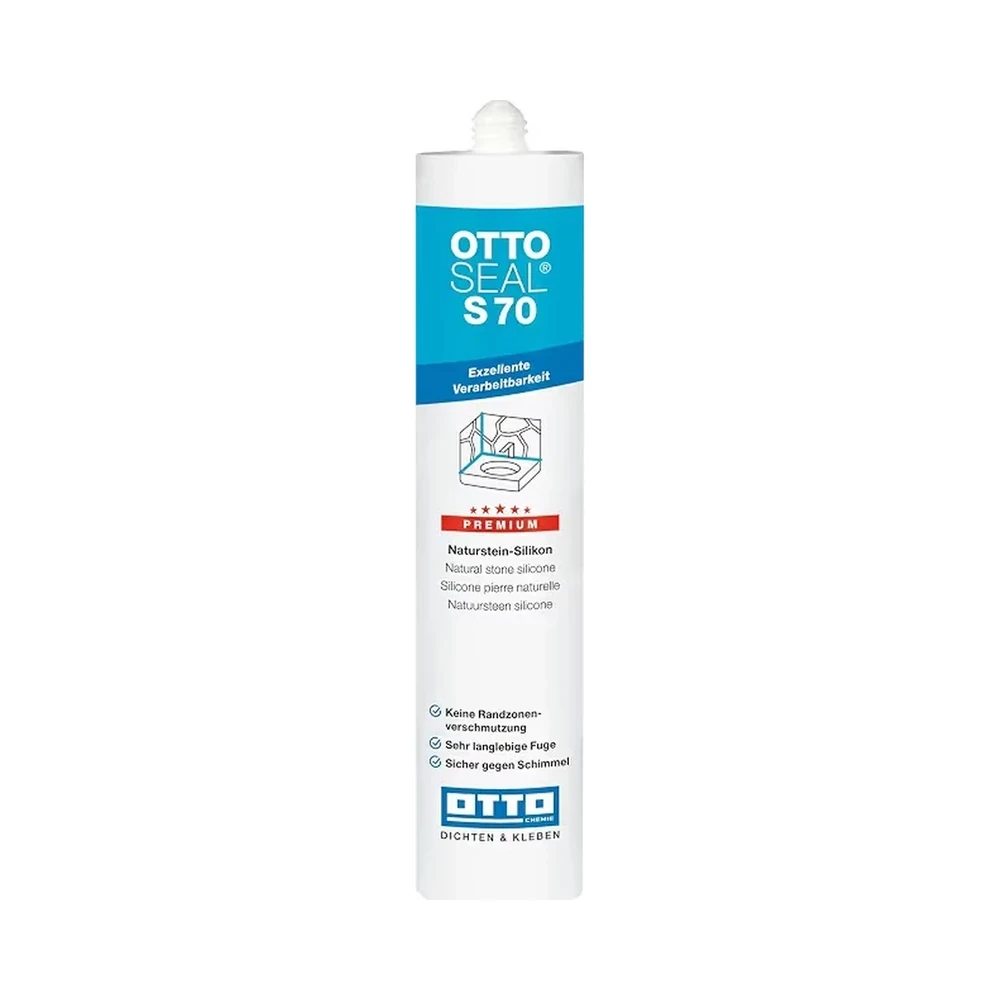
OTTOSEAL S70
For marble and natural stone — so the edge stays clean.
OTTOSEAL S70 Purchase link not available
-
Which sealant to use in the bathroom (and which not to)
Wet zone: sanitary silicone. Paintable ceiling: acrylic sealant. Stone: stone chemistry. Hybrid is not a shower wild card.
-
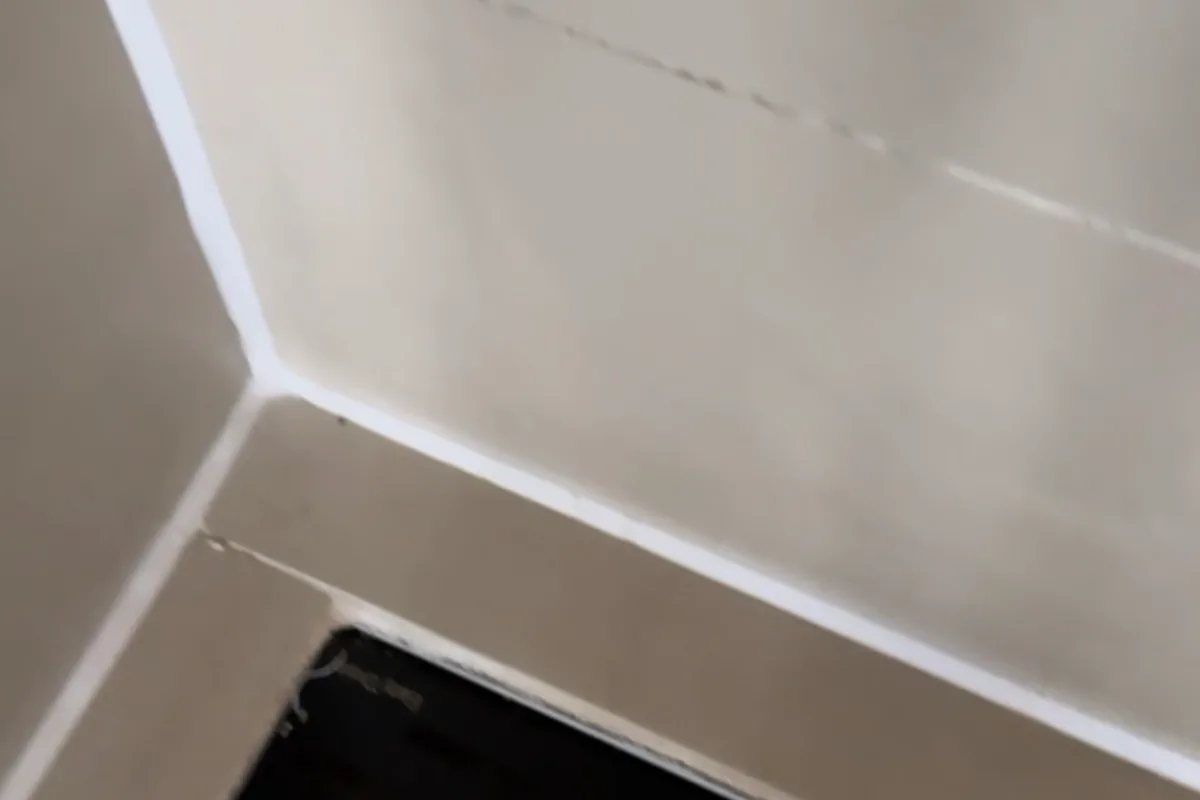
Acetoxy or neutral: the vinegar smell is not a fault
A vinegar smell marks an acetic cure: it grabs glazed ceramic well, and the acid bites stone and sensitive metal.
-
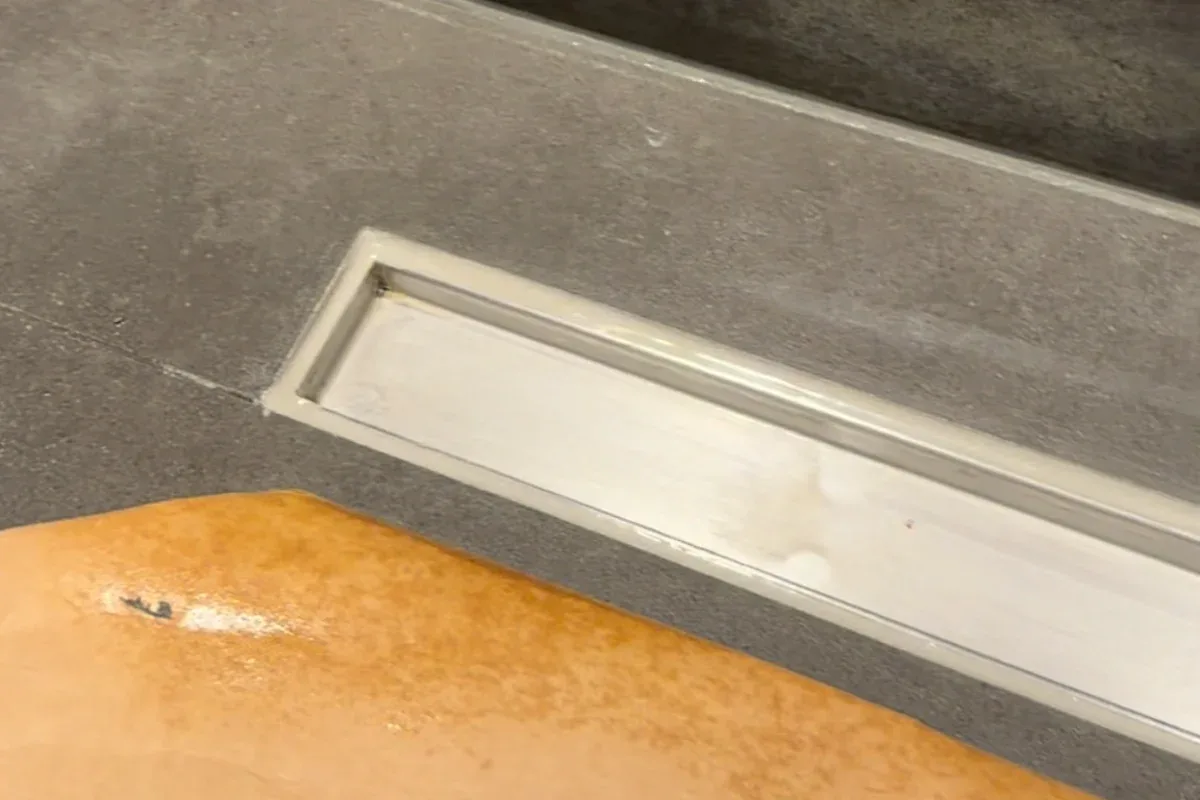
The joint peeling off the tray or bath
On acrylic and composite, peel is usually adhesion plus movement. Tray support and an elastic joint are two different jobs.