
Basin on a vanity: which edges need silicone?
Distinguish the wall junction, the basin’s support on the worktop and the tap and waste seals. Each serves a different purpose.
Buying through a product link may earn us a commission at no extra cost to you.
Read the mounting drawing
A rocking basin needs stable support. The tap and waste may have their own gaskets. A surface bead can hide a leak from underneath without repairing it.
Where the detail calls for sanitary silicone on two compatible surfaces, consider OTTOSEAL S100. Porous stone needs a stone-compatible product.
If one edge is marble or natural stone, trial OTTOSEAL S70 on an offcut and check the tooling agent before touching the visible surface.
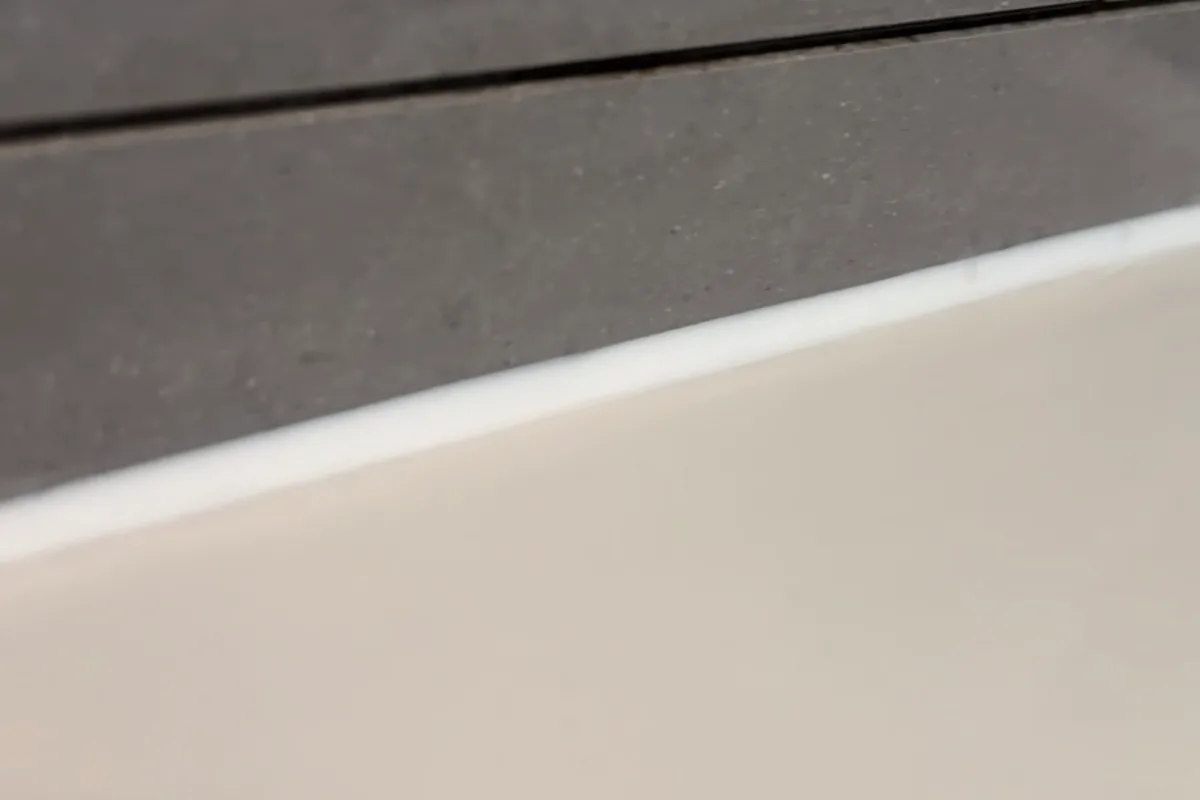
Inspect the rear edge
Where the manufacturer requires a splash seal, identify the vanity material and check the cartridge against both surfaces. S100 can suit compatible sanitary surfaces. Use a light behind the bowl and retain access to the trap and fittings.
Try the Presch silicone gun behind the tap before final assembly. Check the clearance for your hand and the trigger as you turn the corner.
Practise behind the tap
Offer up the empty gun and check whether the tool can turn the last corner. If the tap is not fitted yet, agree the order with the installer. A swollen panel needs the water source and board condition investigated before sealing.
Try the FUGENFUX profile behind the basin. If you cannot finish the pass, agree on a sequence that leaves the tap out until you are done.
Tools and materials for this job
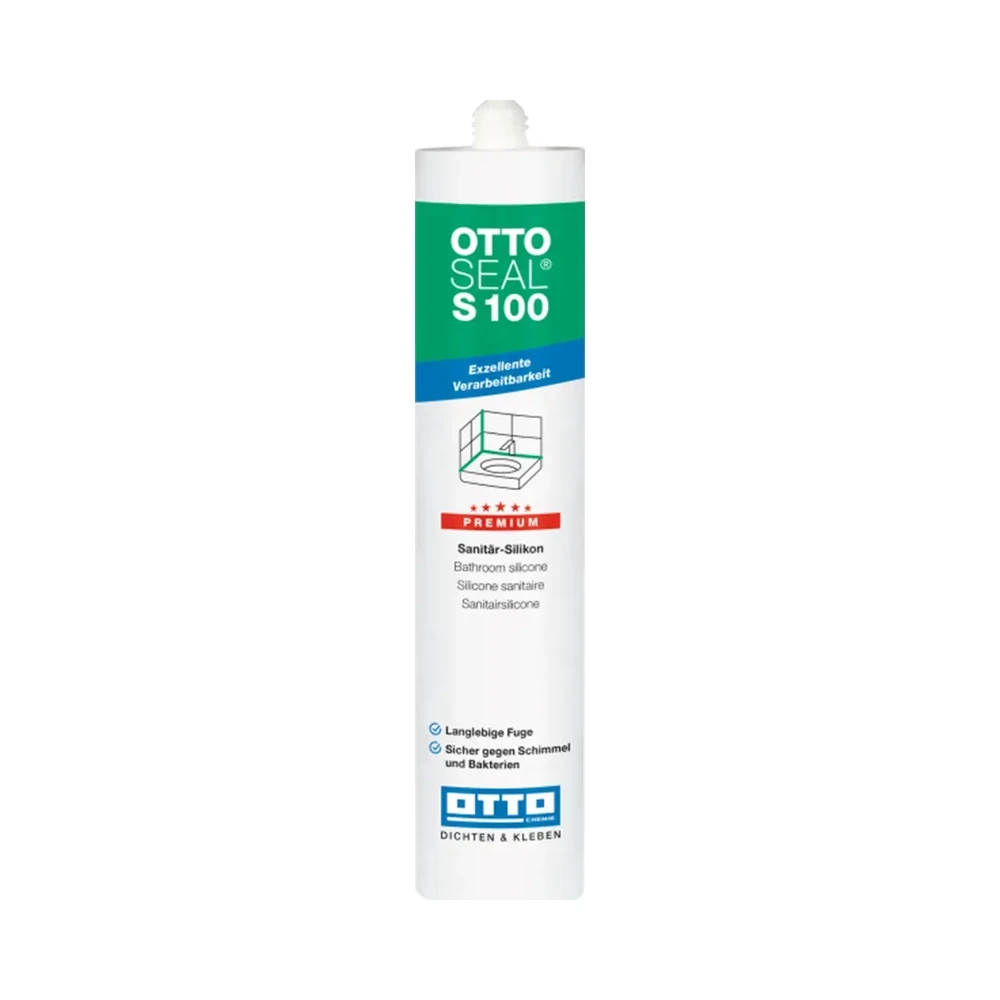
OTTOSEAL S100
Sanitary silicone for compatible surfaces. Check both edges before opening the cartridge.
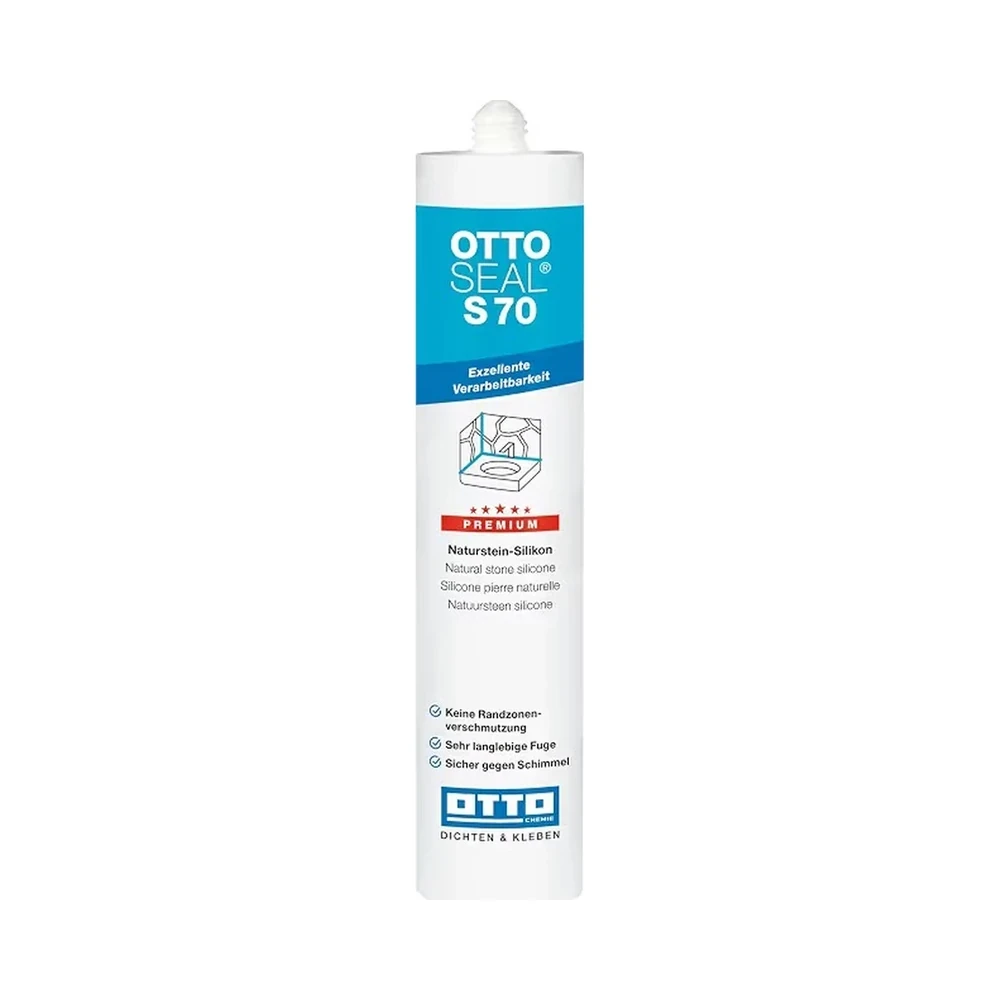
OTTOSEAL S70
For compatible natural stone. Test colour and finish on an offcut.
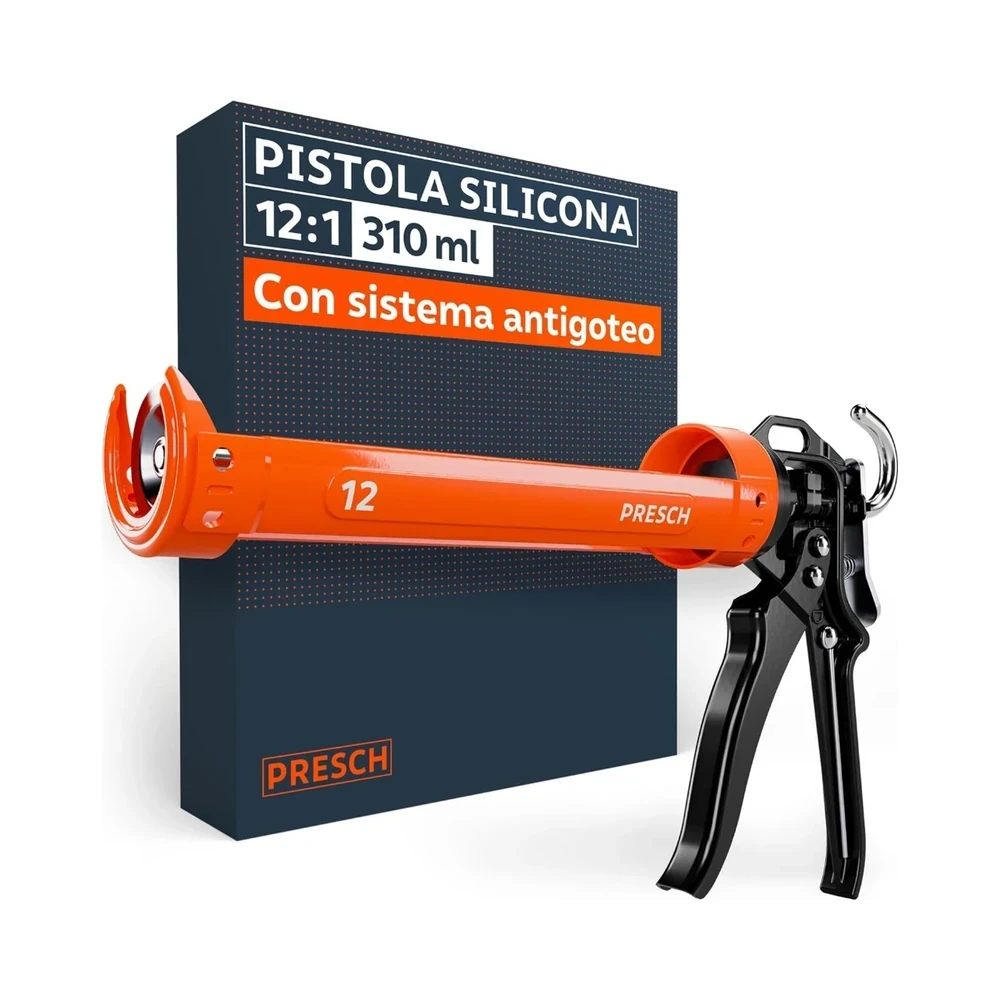
Presch silicone gun
Manual cartridge gun. Check you can release pressure in the last centimetre.
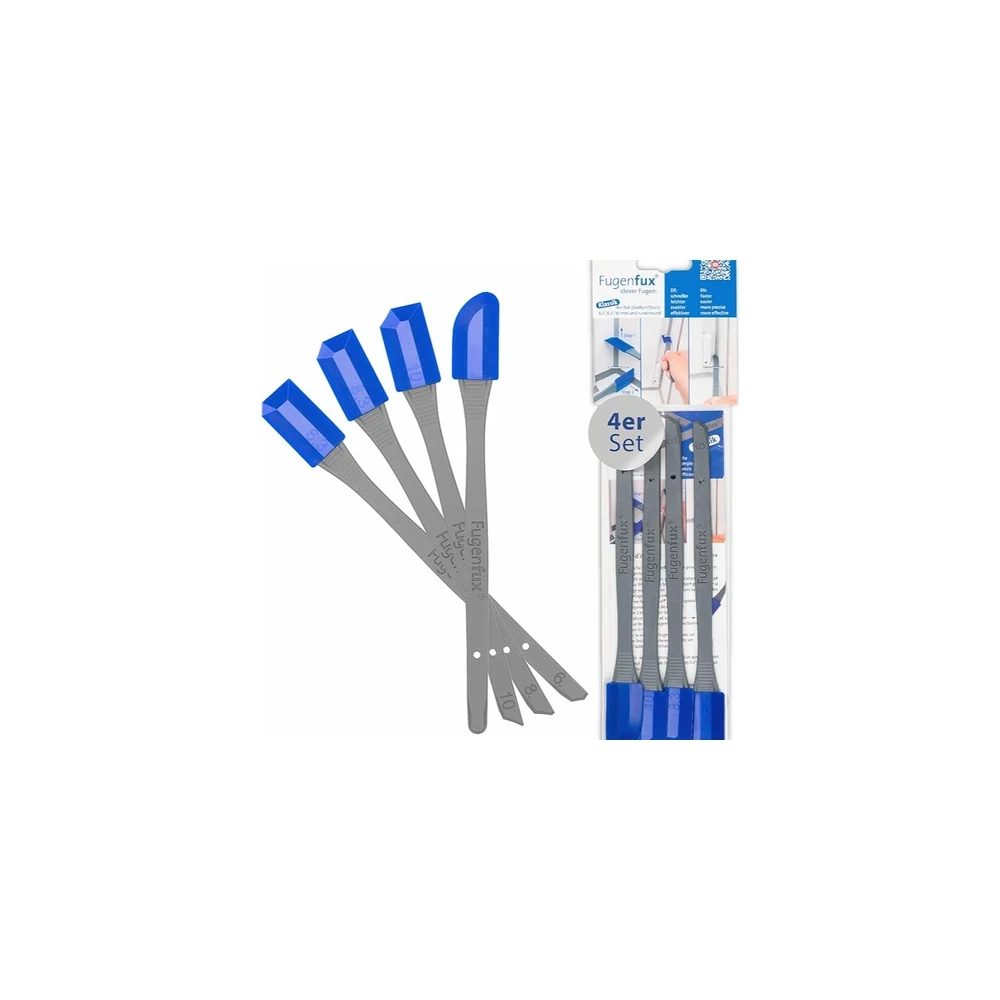
FUGENFUX
Profiling tool. Dry-fit the edge that reaches both sides of the joint.
Should I seal the side of the unit to the wall?
Only if the installation detail calls for it. Keep doors, drawers and removable panels free. Photograph hidden seals before fitting the basin.