
Which joints in a home should you seal and which should stay open?
Walk through each room and identify the opening’s job. Does it stop splashes, accommodate movement, drain water or provide ventilation?
Buying through a product link may earn us a commission at no extra cost to you.
Check one room at a time
In the bathroom, inspect wet junctions and shower-profile outlets. In the kitchen, check whether the sink needs a mounting gasket. At windows distinguish the fixed frame, sash and drain holes. At floating floors find the required expansion gap first.
Where the detail calls for sanitary silicone on two compatible surfaces, consider OTTOSEAL S100. Porous stone needs a stone-compatible product.
Dry-fit the FUGENFUX profiling tool. Choose the edge that meets both sides without scooping out the middle, then tool the bead before a skin forms.
Label the function
Mark each line “seal”, “keep clear” or “check drawing”. Paintable acrylic can suit a small dry wall-to-skirting joint. Do not continue with the same tube into the shower. Consult the product sheet and installation instructions first.
For a dry interior joint that will be painted, check the expected movement against the data sheet for OTTOSEAL A205. Try the finish with your actual paint.
Make a room sheet
Write “part A”, “part B” and “function” for each line. A skirting-to-wall finish may meet a functional clearance between the skirting and floating floor. Two lines meeting in a corner need not receive the same treatment.
Before opening the cartridge, try the Presch silicone gun in the tightest corner. Check you can turn your wrist and release pressure at the end of the run.
Tools and materials for this job
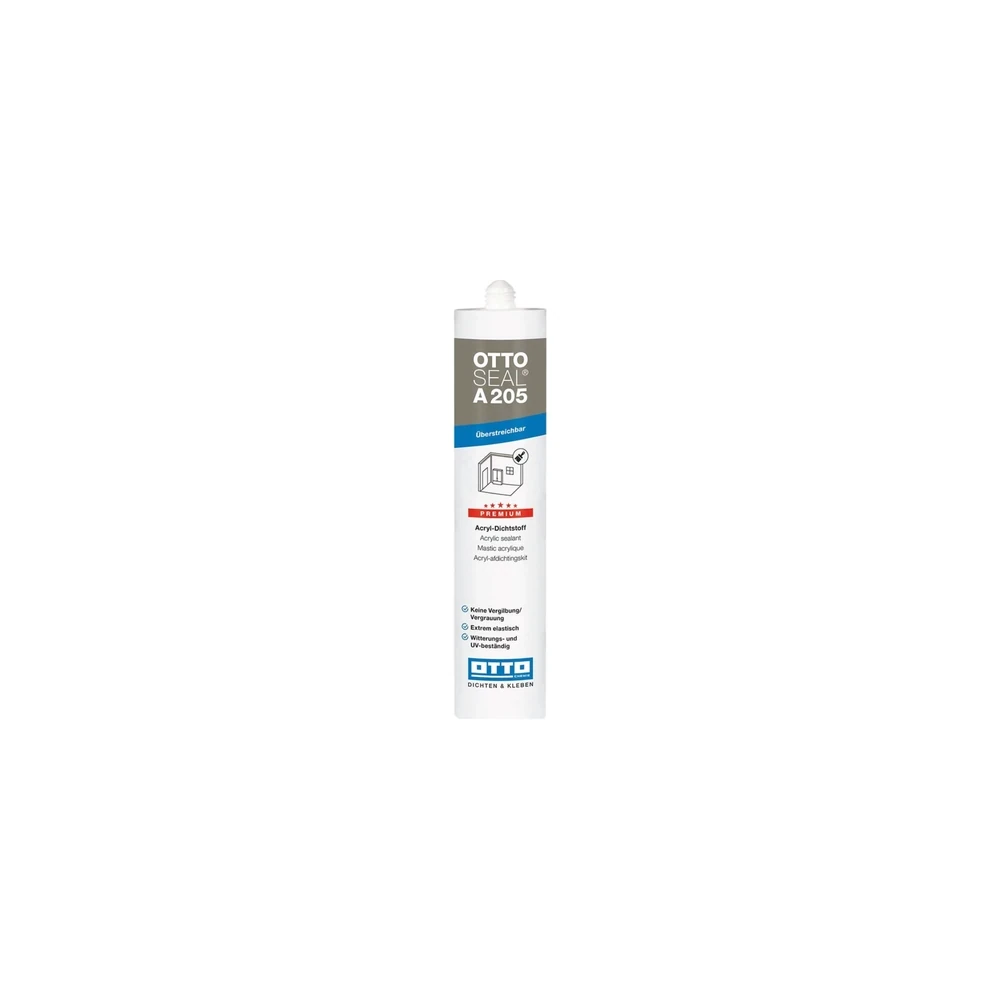
OTTOSEAL A205
For a dry joint that will be painted. Check movement and paint compatibility.
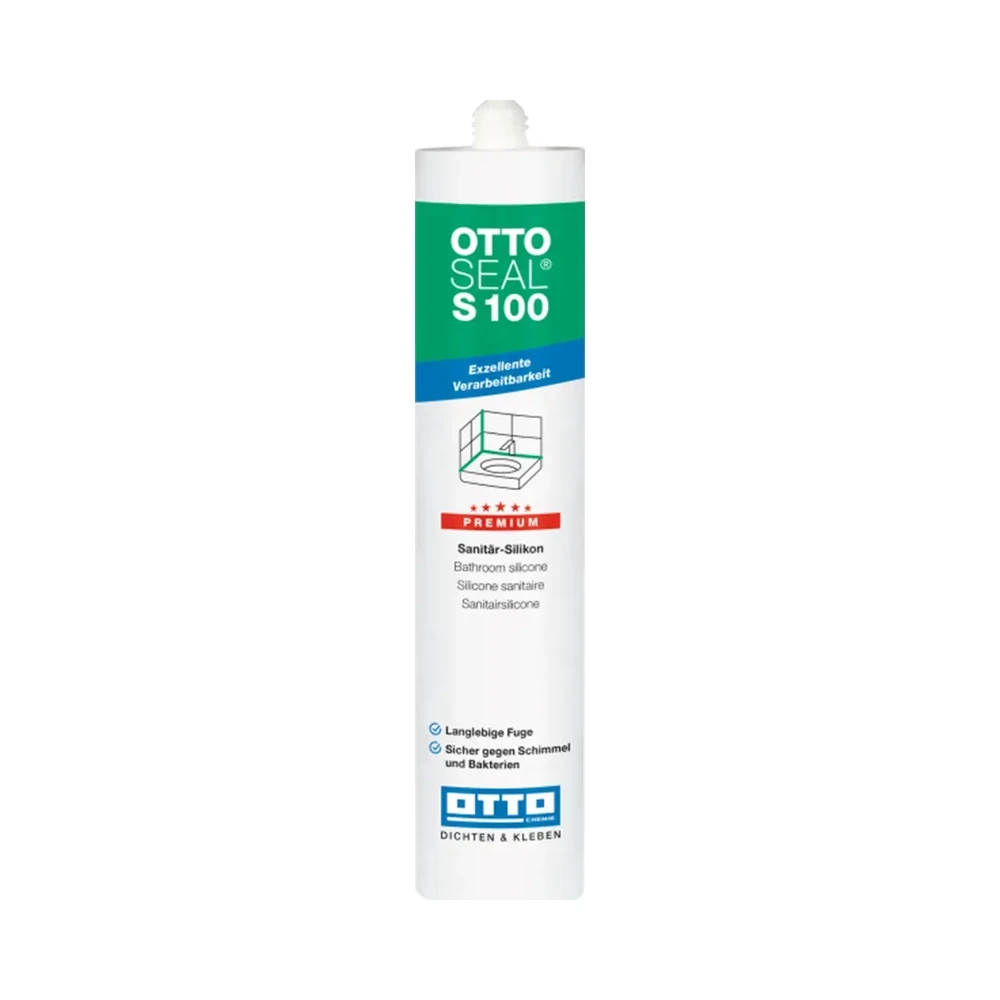
OTTOSEAL S100
Sanitary silicone for compatible surfaces. Check both edges before opening the cartridge.

Presch silicone gun
Manual cartridge gun. Check you can release pressure in the last centimetre.
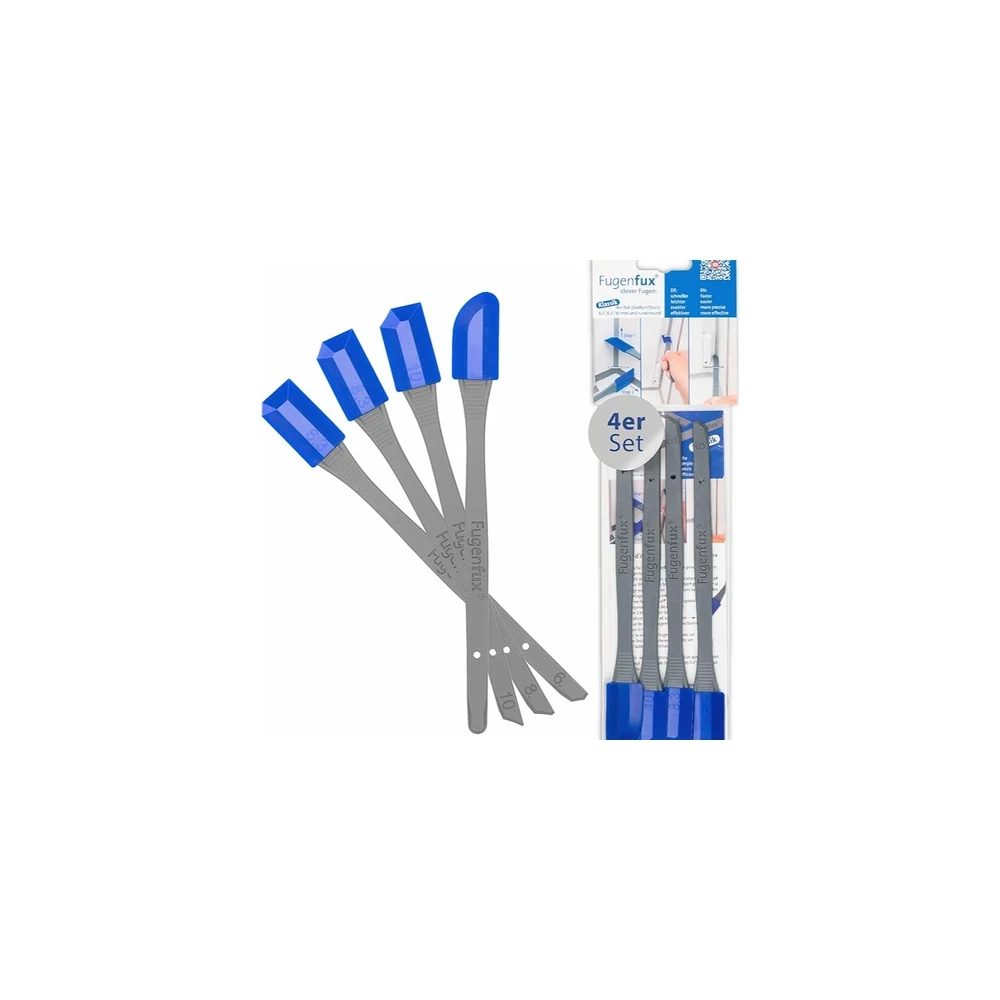
FUGENFUX
Profiling tool. Dry-fit the edge that reaches both sides of the joint.
What should I take on the inspection?
Bring the drawing, a light and photos. Mark functional openings before finishing so they do not get closed by mistake.