Should you wait before sealing a newly built bathroom?
A new building can continue to dry and settle. That does not mean using a shower with open joints or waiting a fixed number of months.
Buying through a product link may earn us a commission at no extra cost to you.
Check the installation details
Ask for drawings of the tray, corners and movement joints. Check substrate readiness, support under the tray and waterproofing beneath the finish. Follow curing times for both adhesives and sealants.
Before opening the cartridge, try the Presch silicone gun in the tightest corner. Check you can turn your wrist and release pressure at the end of the run.
If a crack is growing
Photograph its ends and talk to the person responsible for the build. Where a backing rod is specified, verify width and depth before installation. A thin smear over an active crack often hides it only until the next movement.
Where the joint design specifies backing, size the Backer rod to the measured width and install it without puncturing it. Its job is to control depth.
At handover
Ask for product references, application dates and a photo of concealed connections. Mark where the tray ends and the wall finish begins. If a crack develops, this will help distinguish a finishing defect from a designed movement joint.
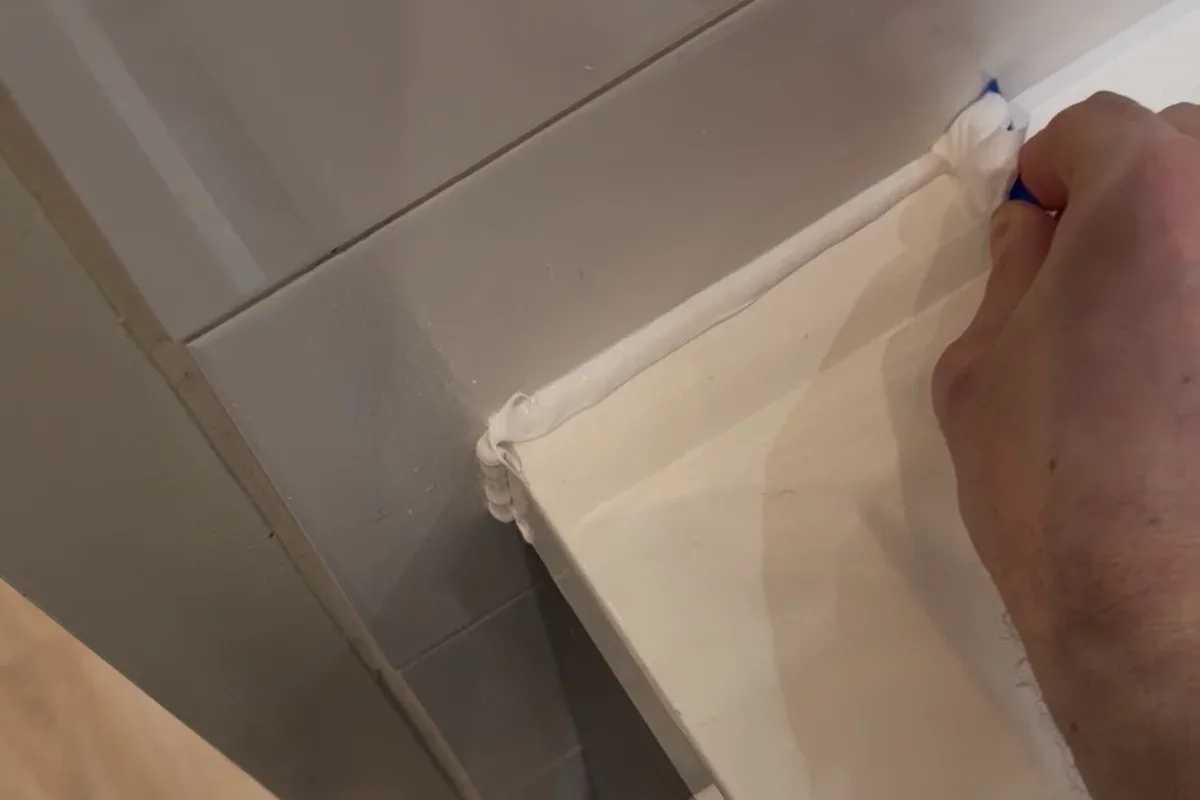
Dry-fit the FUGENFUX profiling tool. Choose the edge that meets both sides without scooping out the middle, then tool the bead before a skin forms.
Tools and materials for this job
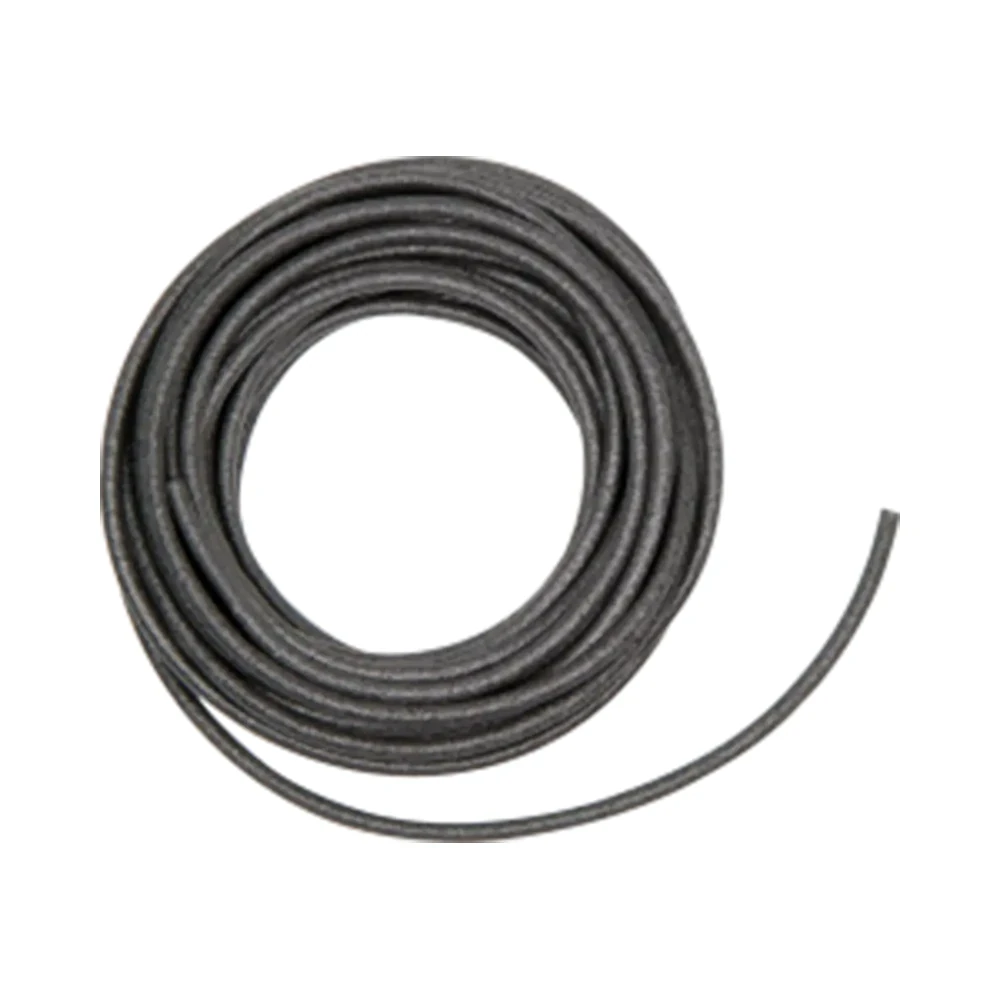
Backer rod
For depth control where specified. Choose the diameter to suit the measured width.
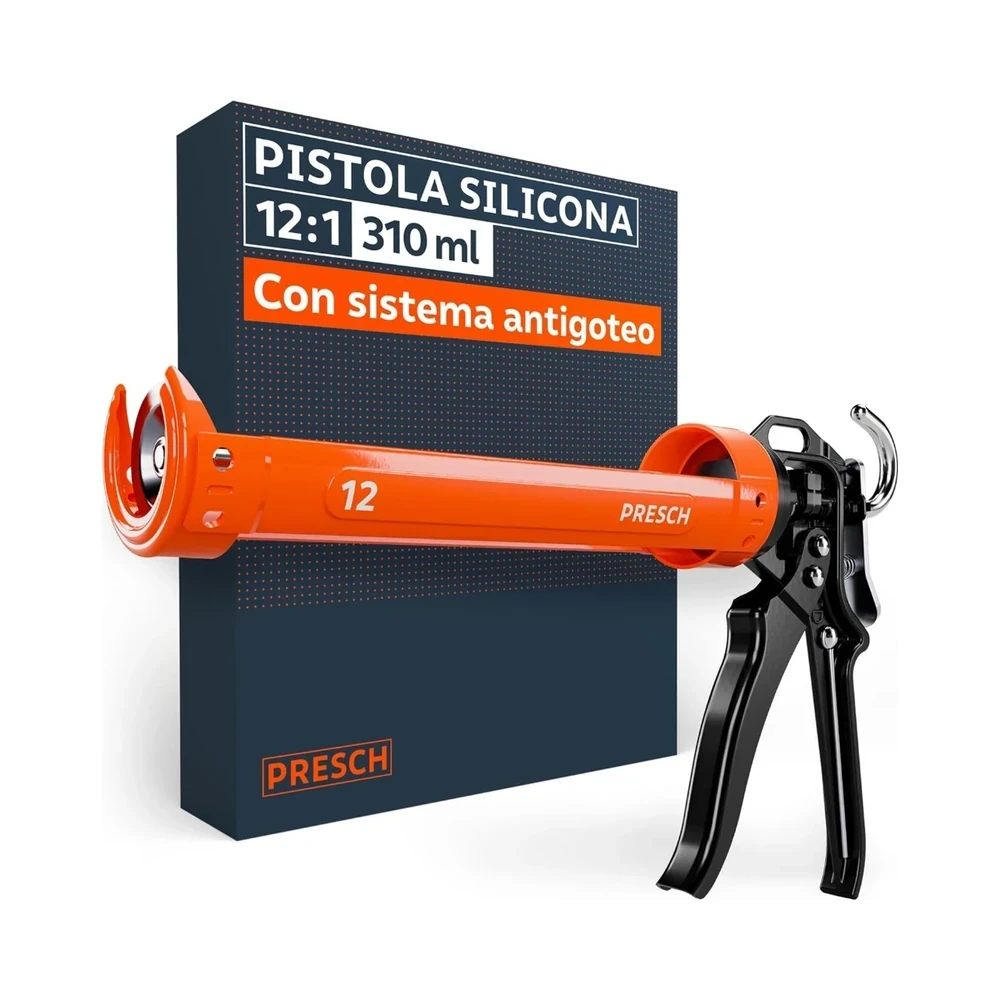
Presch silicone gun
Manual cartridge gun. Check you can release pressure in the last centimetre.
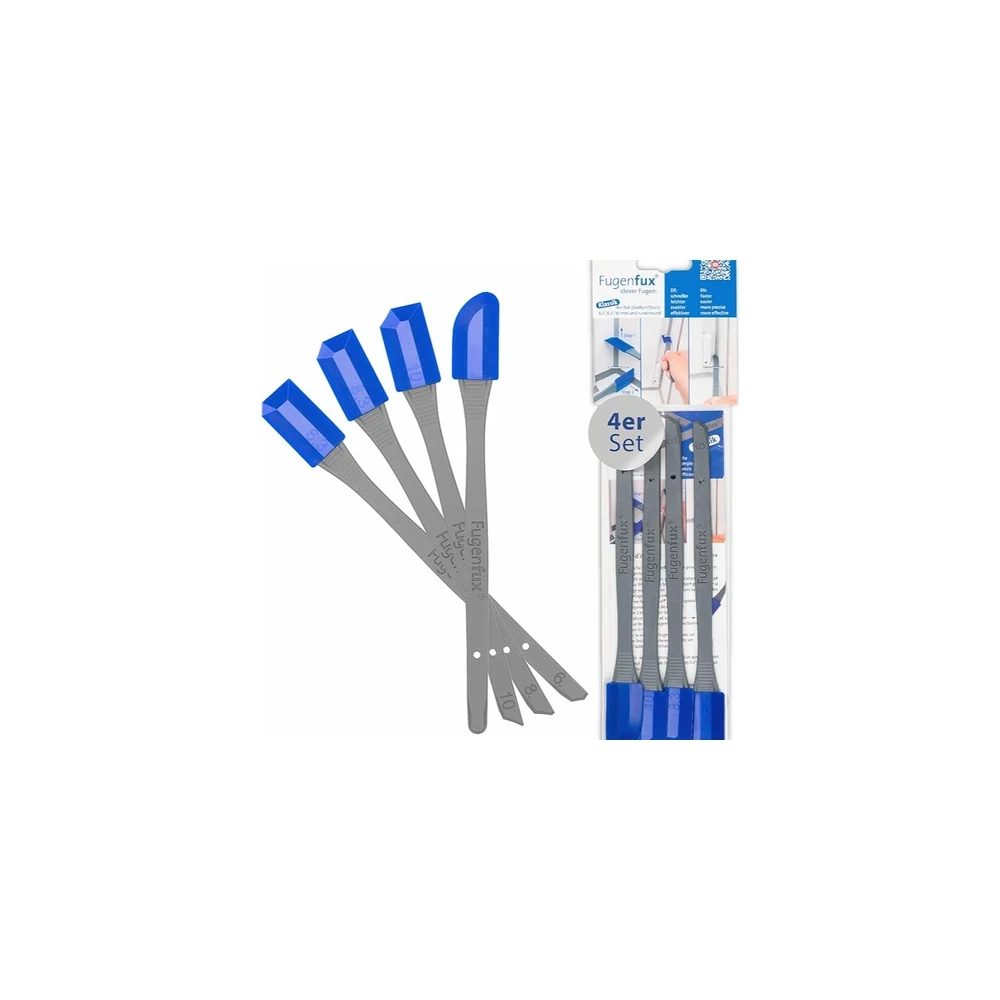
FUGENFUX
Profiling tool. Dry-fit the edge that reaches both sides of the joint.
Can I shower if only the visible bead is missing?
Ask for confirmation that the complete system is ready for use. A dry surface alone does not establish that it can take water.